

NEWS
-
2025.07.09
Information
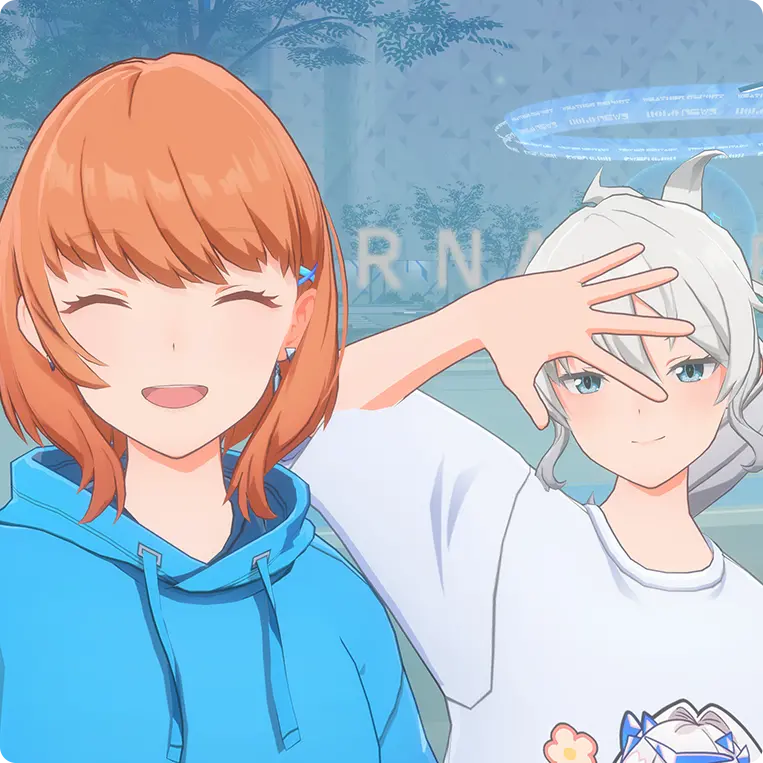
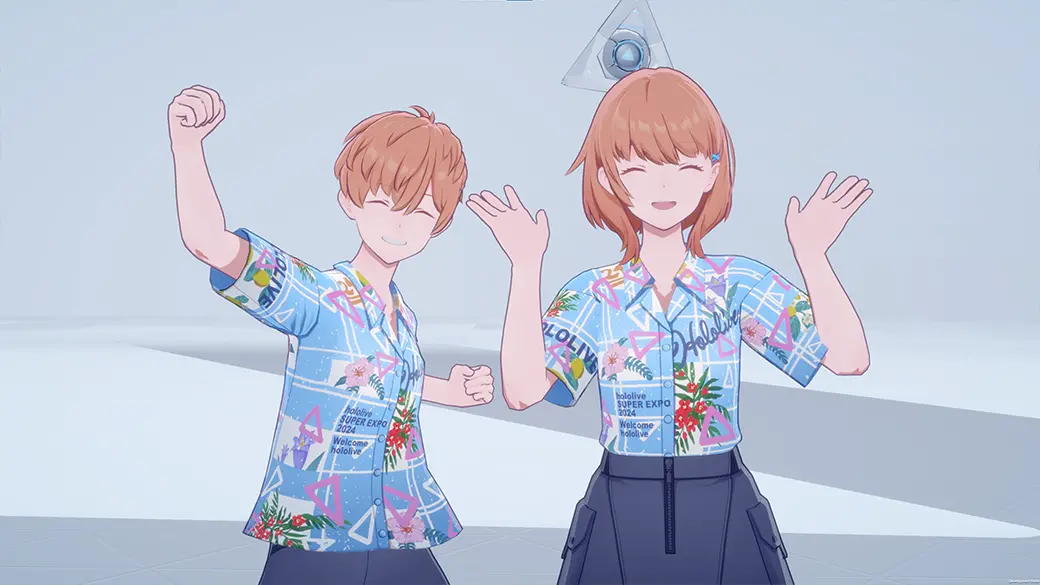
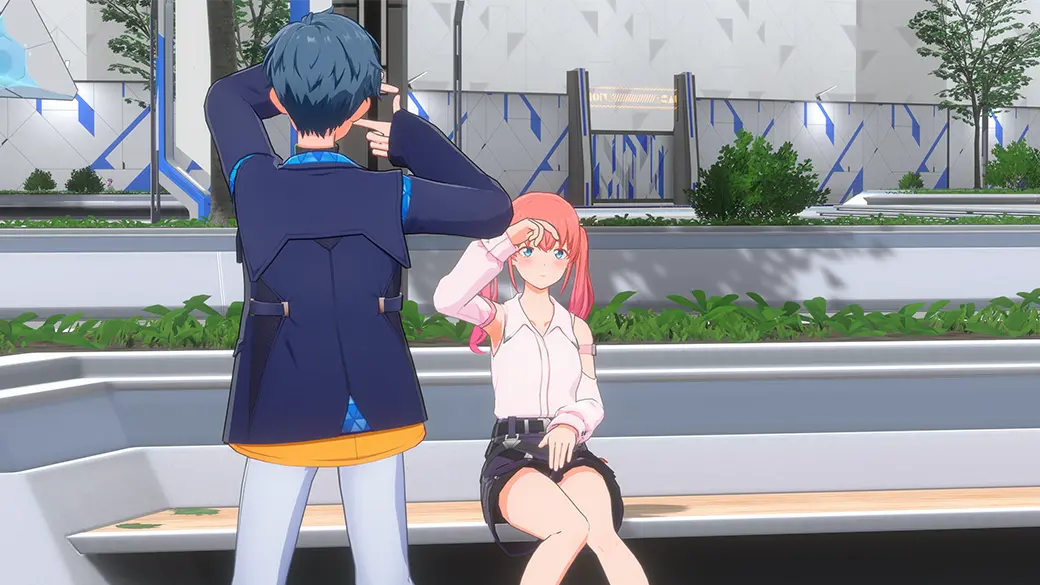
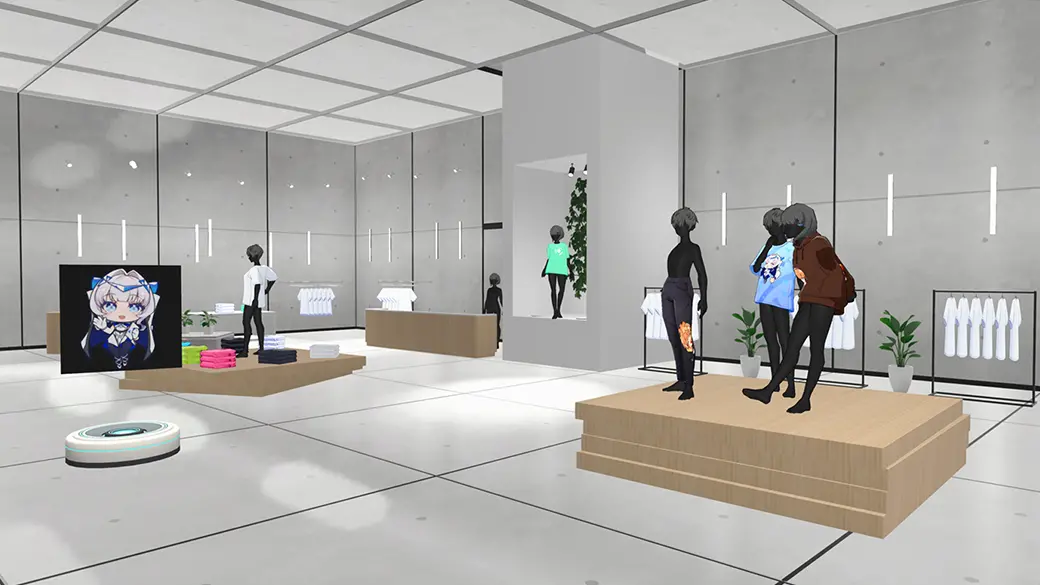
holonatsu Paradise T-Shirt in Holoearth!
-
2025.07.09
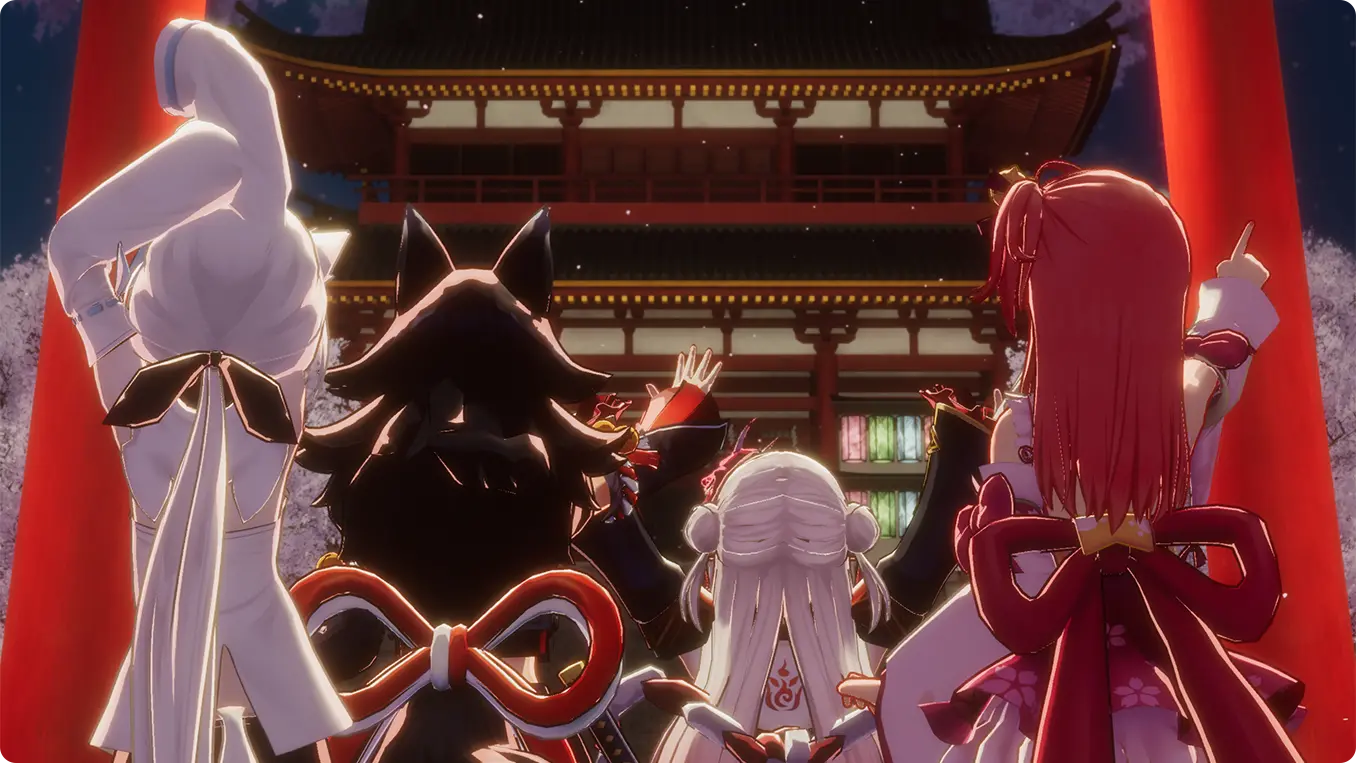
Events
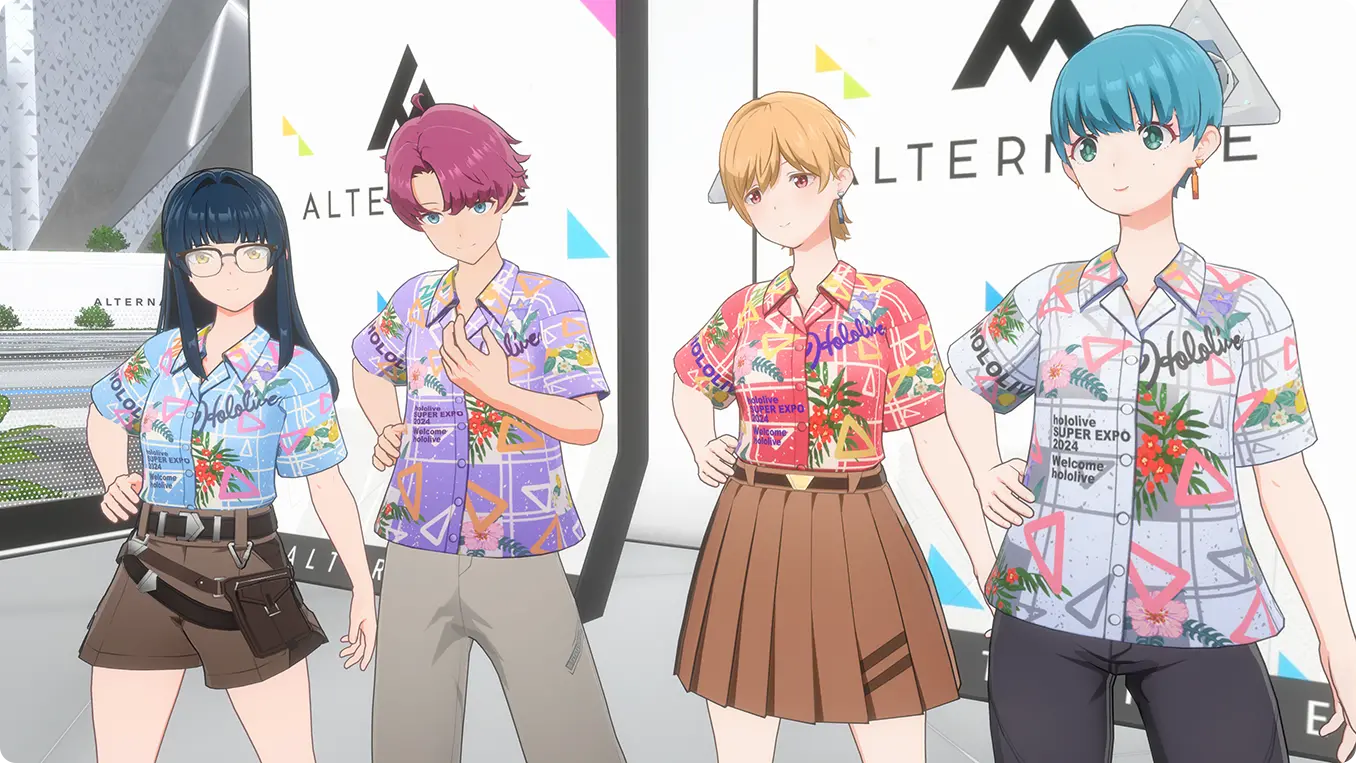
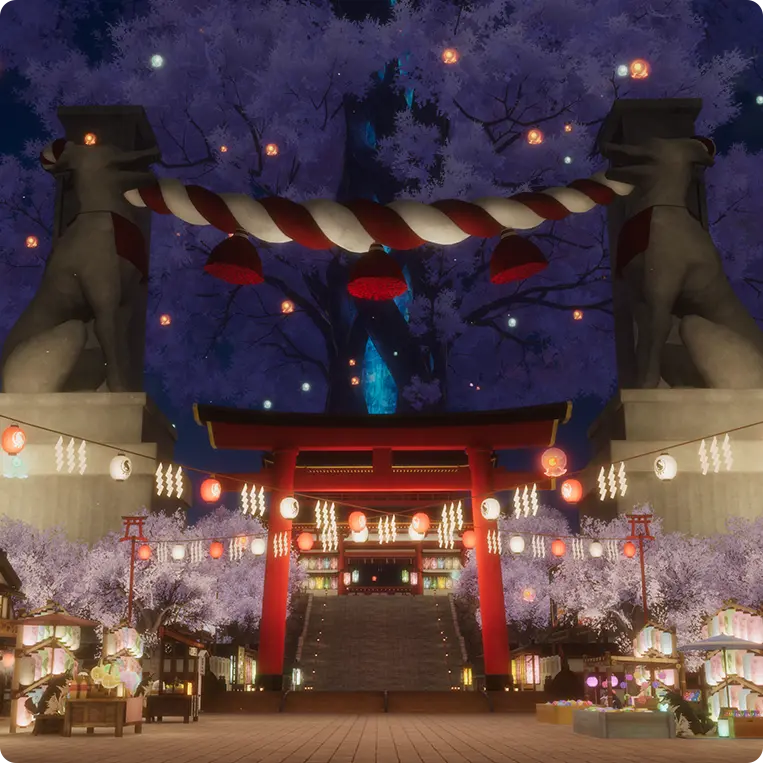
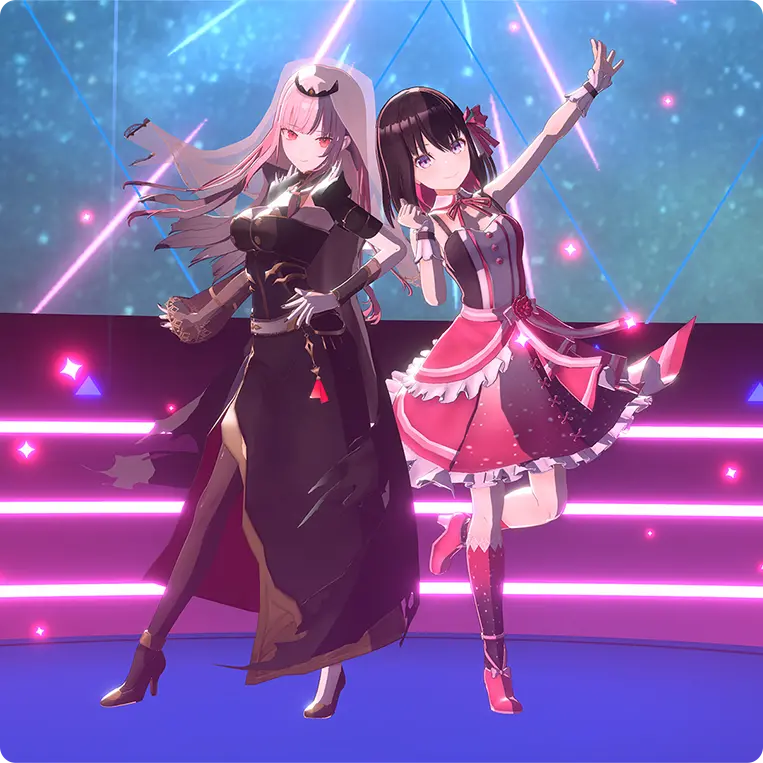
[Archive] “Natsuiro Matsuri Arrival Festival” Held on July 8
-
2025.07.08
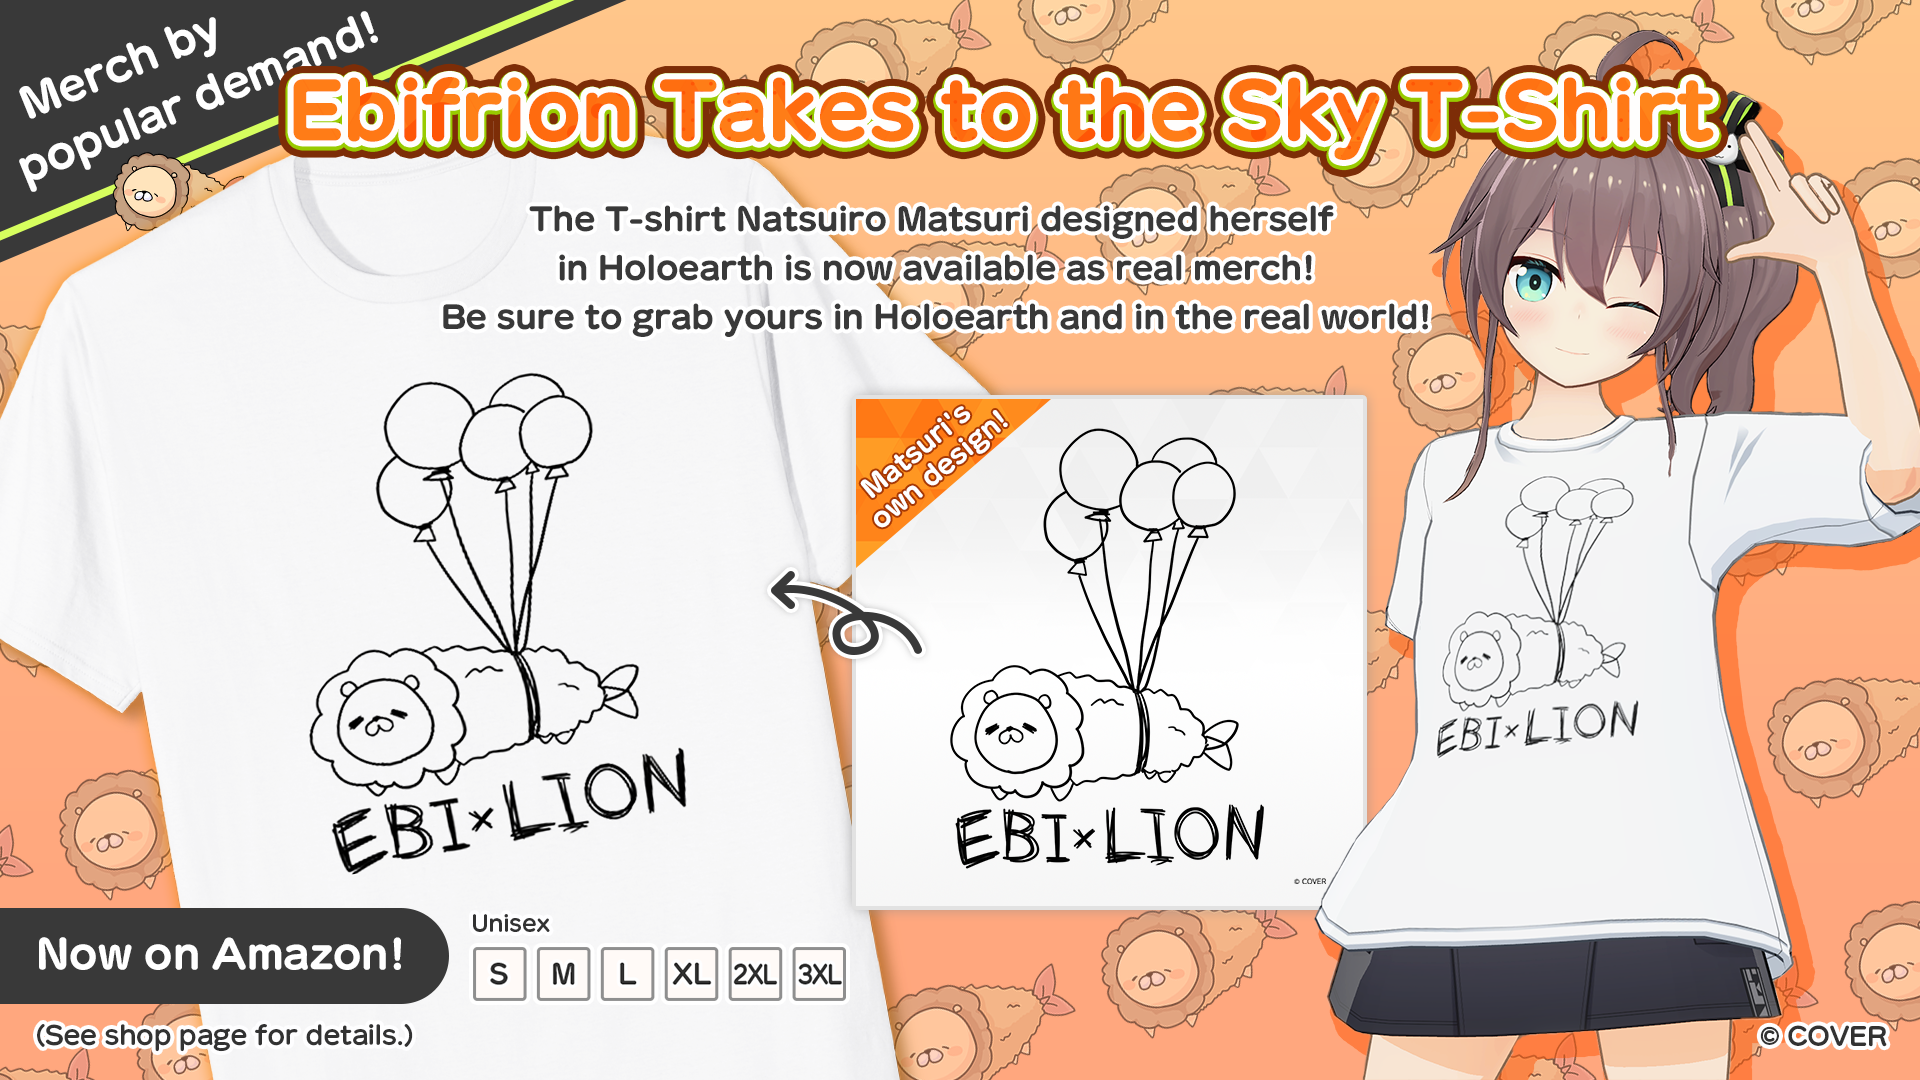
Information
Natsuiro Matsuri’s Holoearth T-Shirt Design “Ebifrion Takes to the Sky” is Available as Real Merch on Amazon!
-
2025.07.03
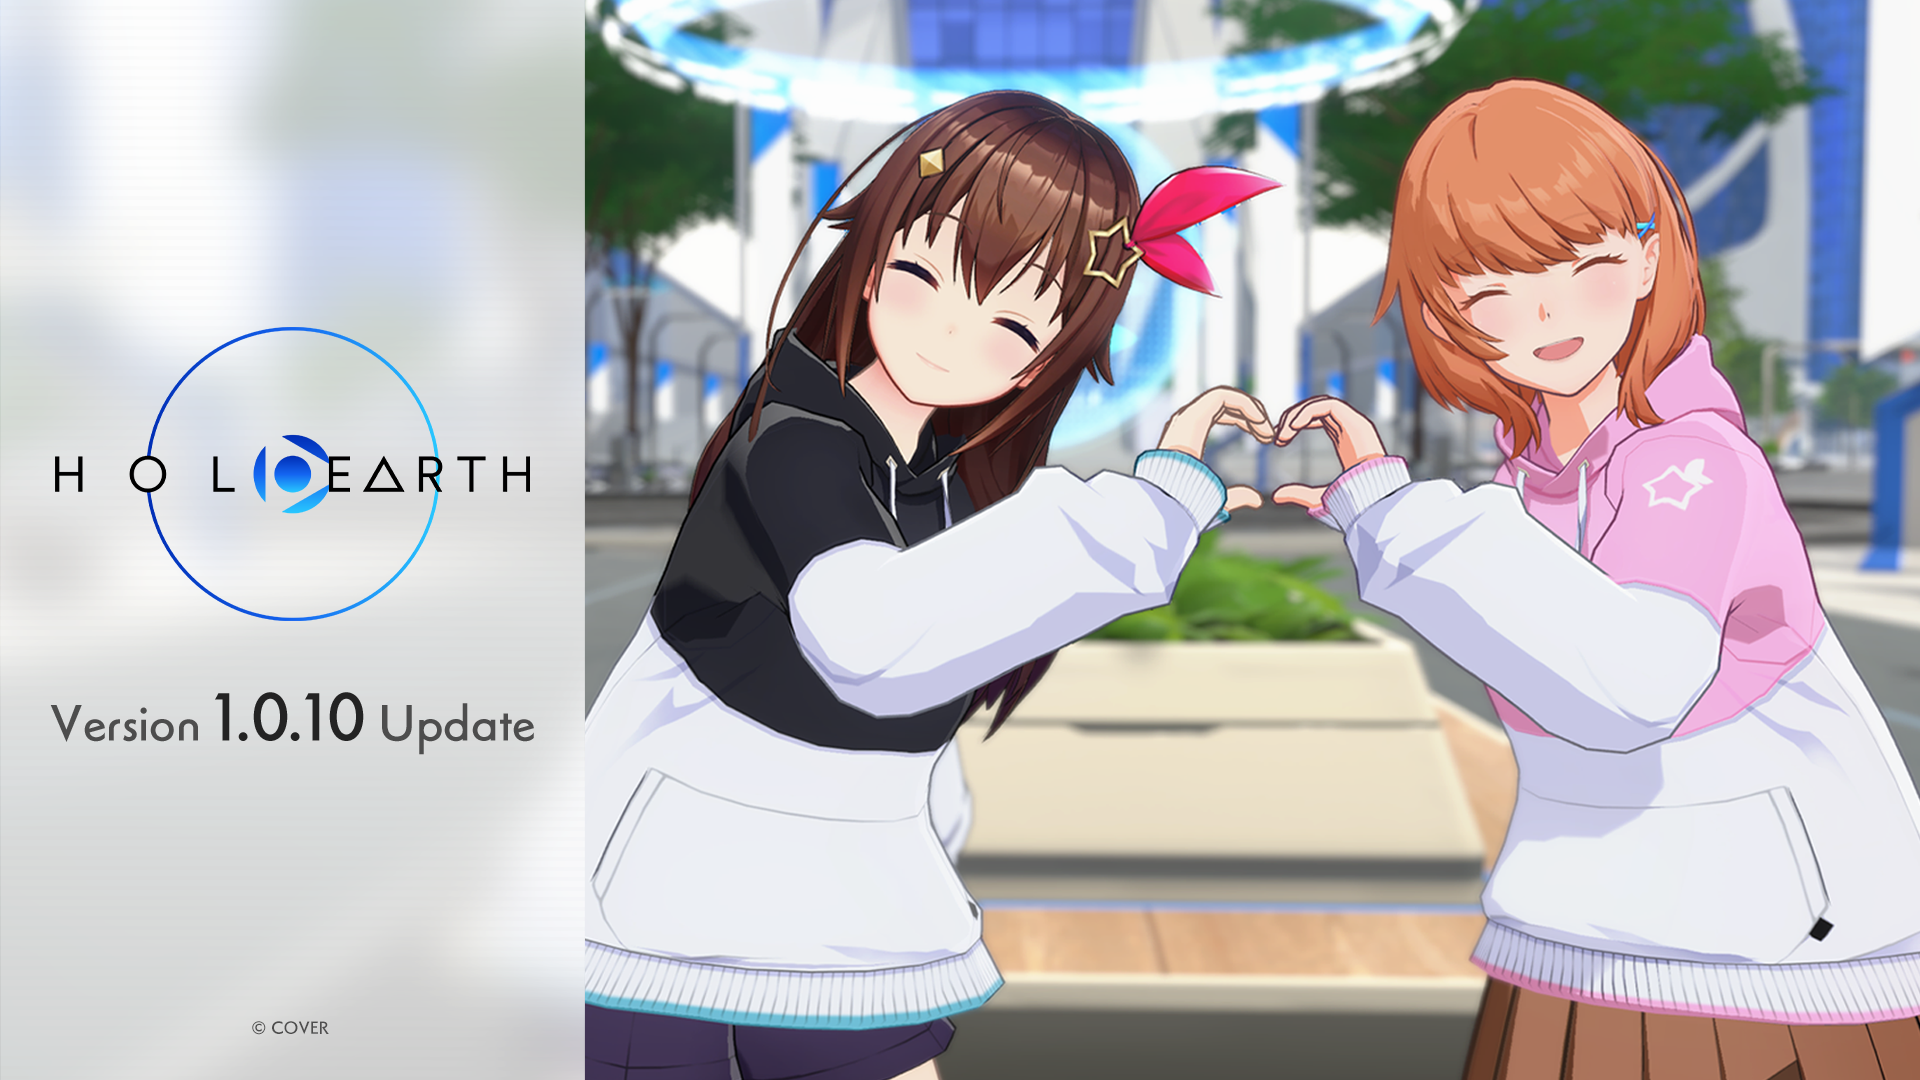
Updates
Ver. 1.0.12 Release Notes
-
2025.07.03
Information
Ver. 1.0.11 Update Technical Issues & HoloCoin Gift Campaign Announcement
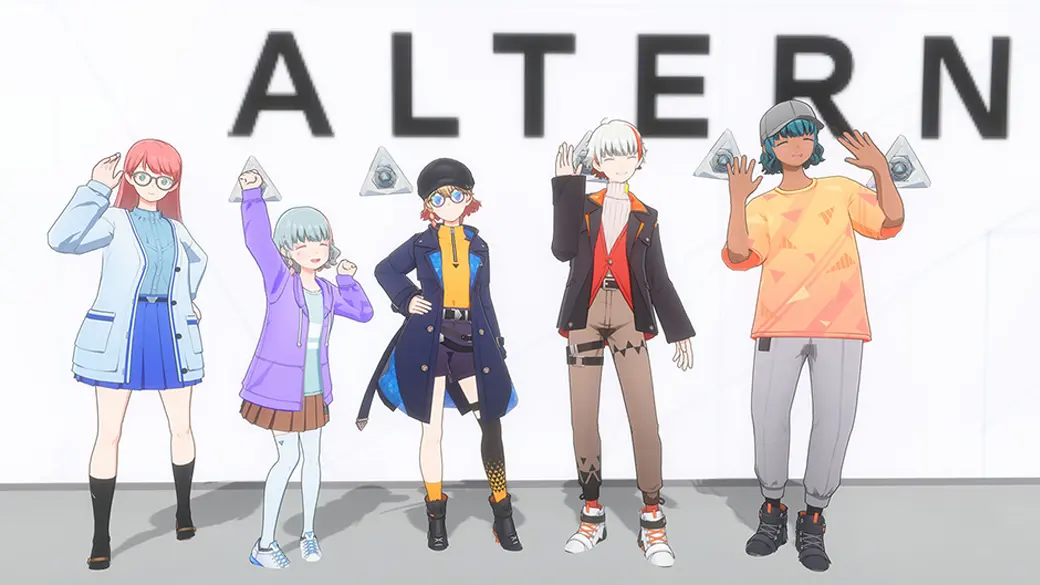
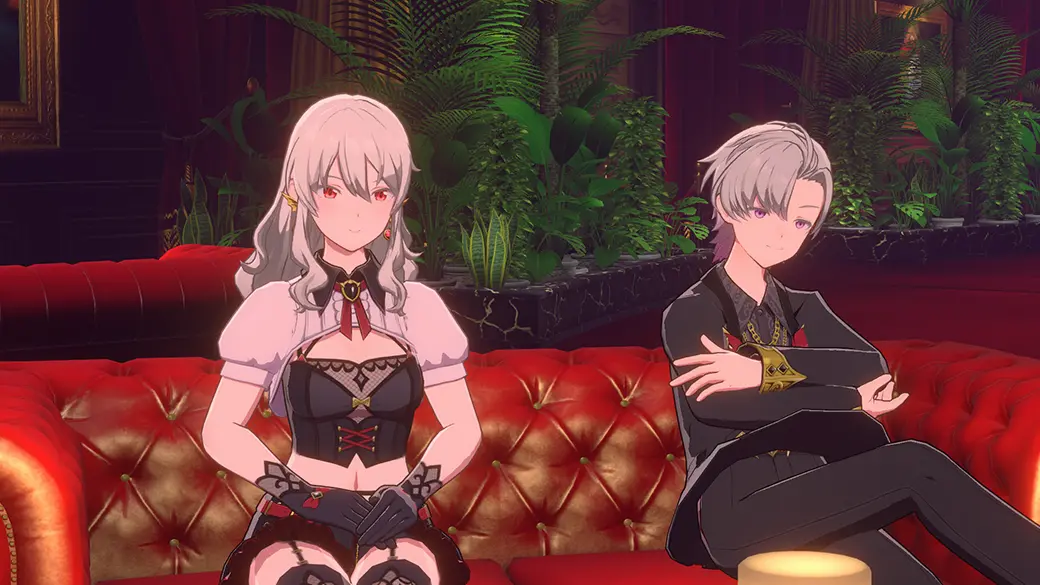
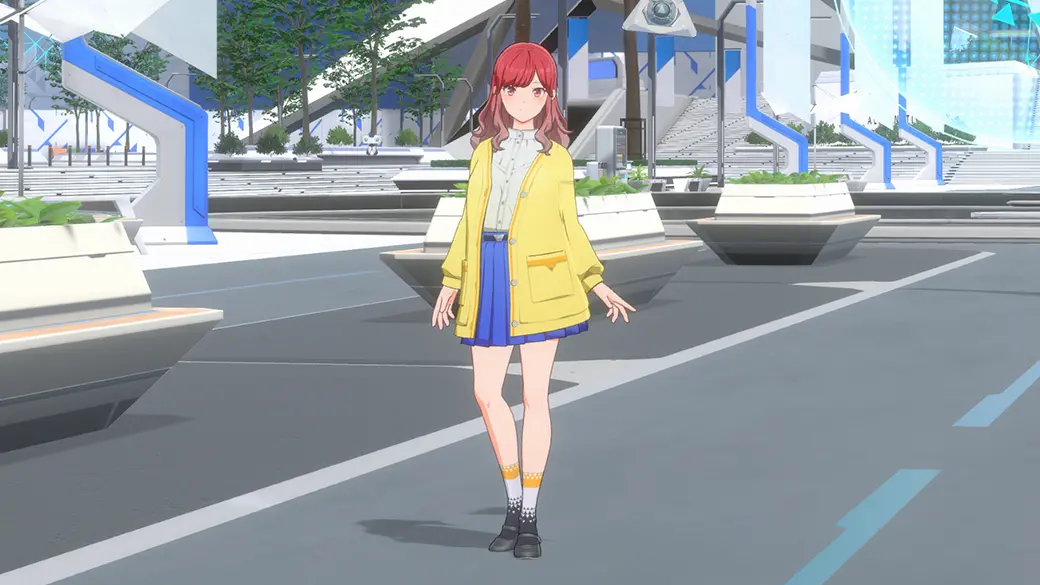
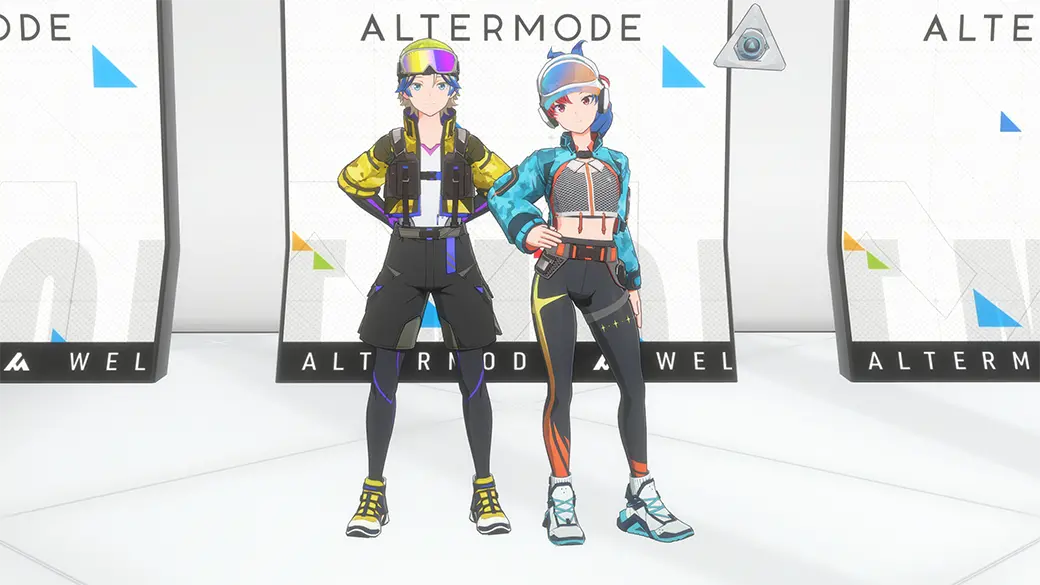
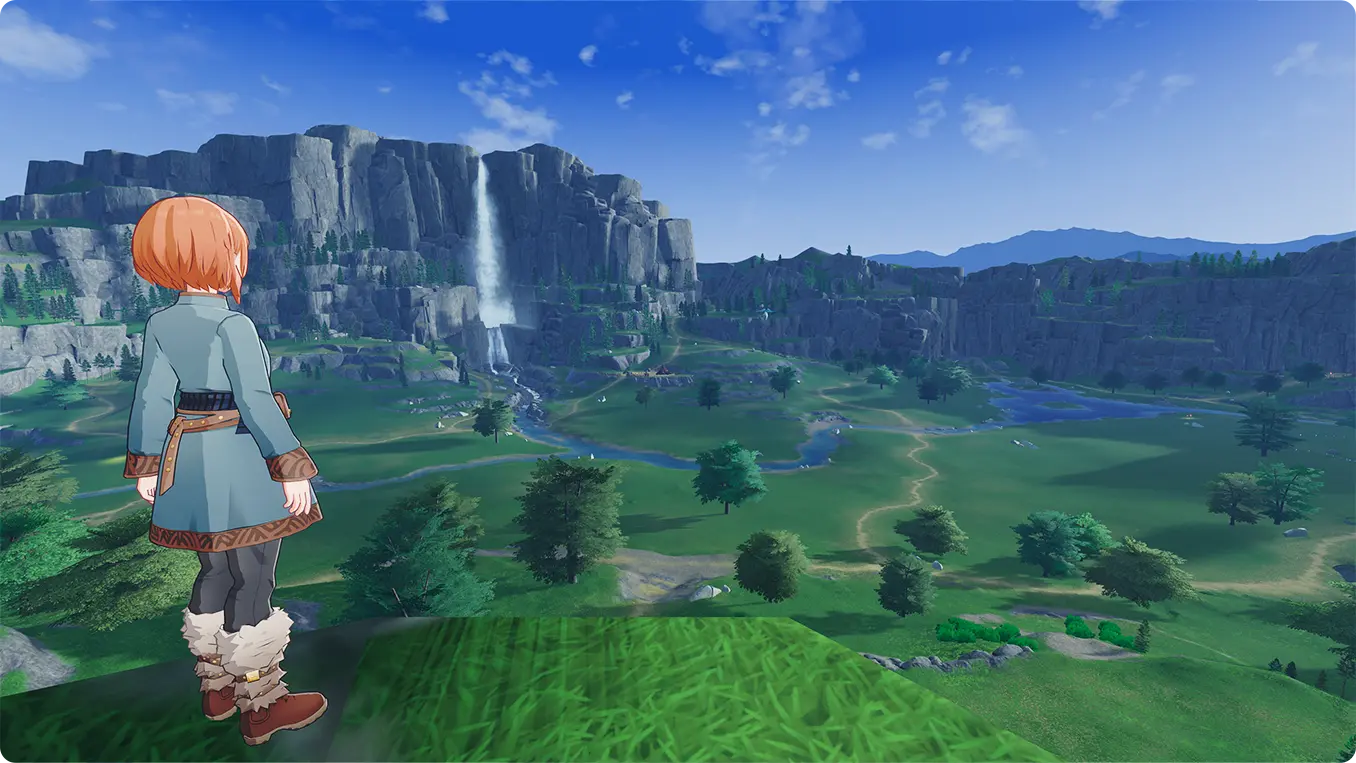
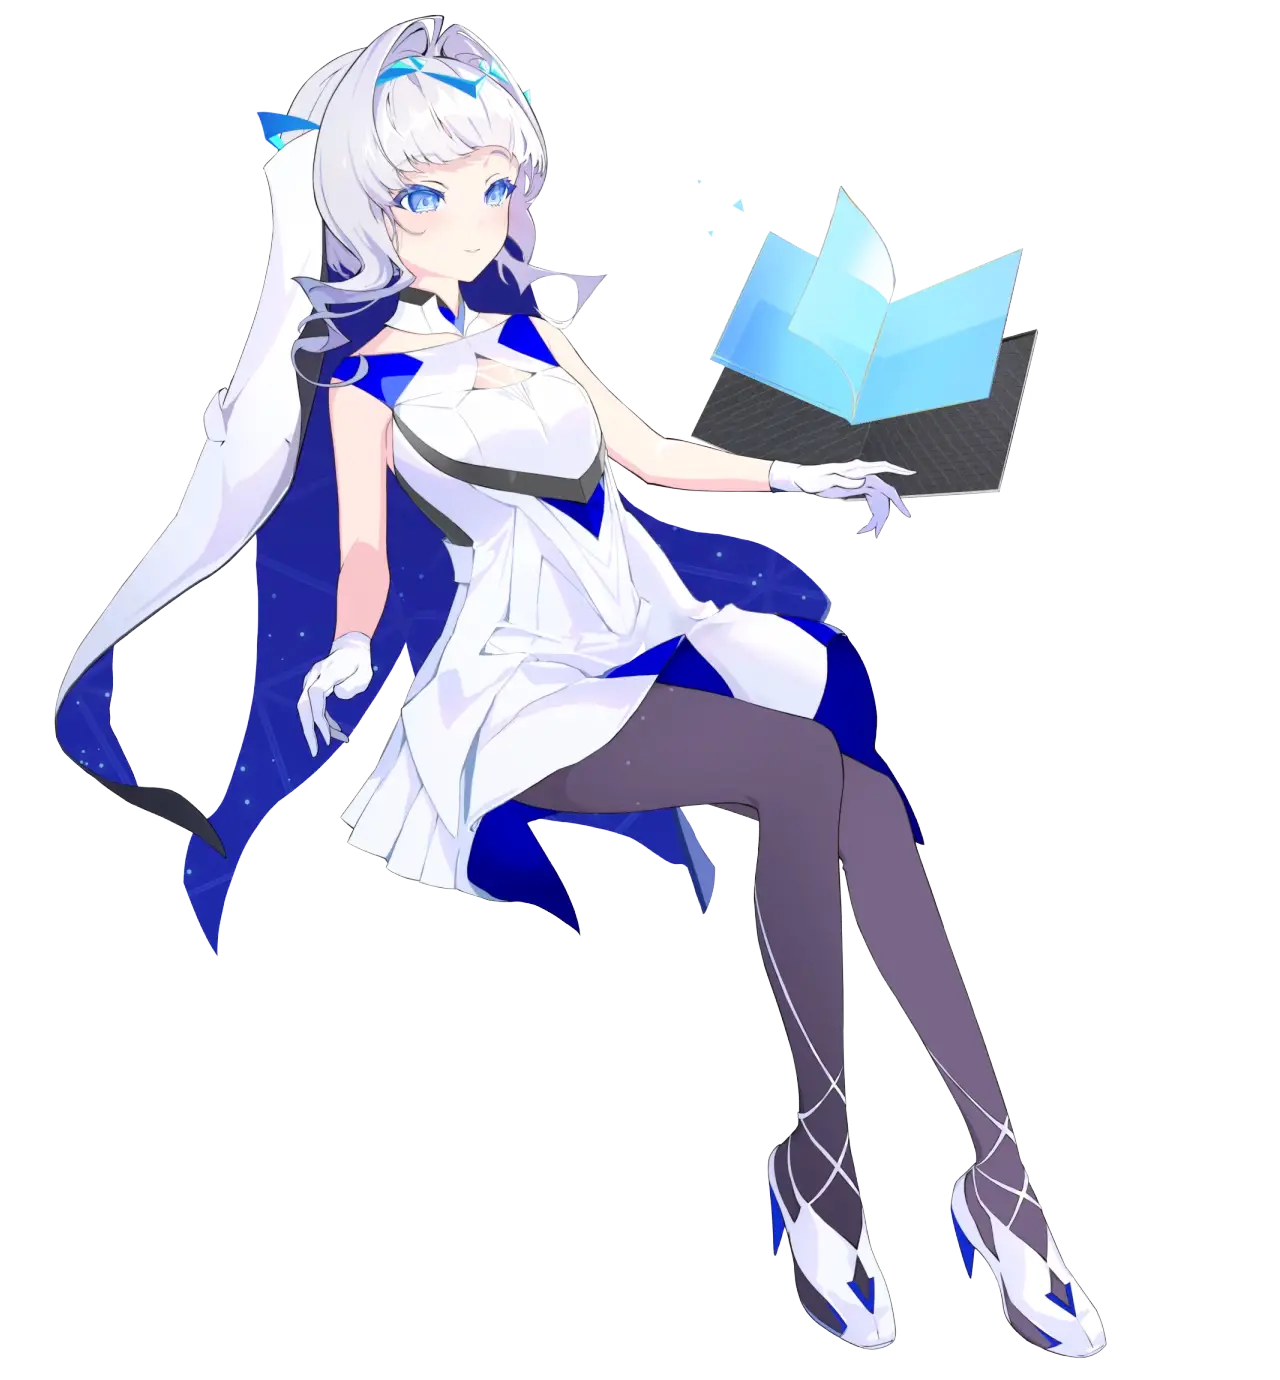
What is Holoearth?
VIRTUAL WORLD
REAL LIFE
VIRTUAL WORLD
REAL LIFE
-
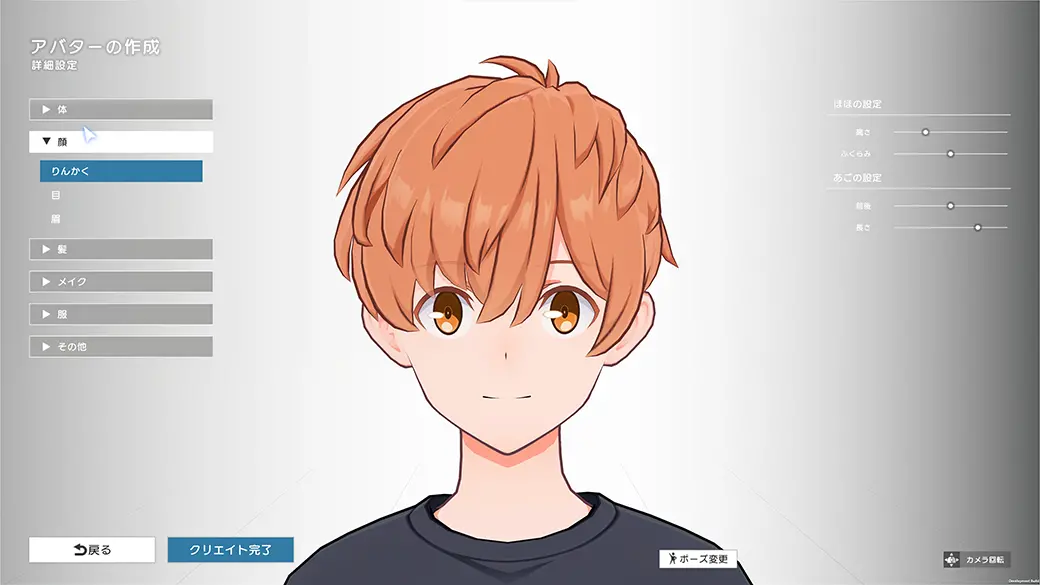
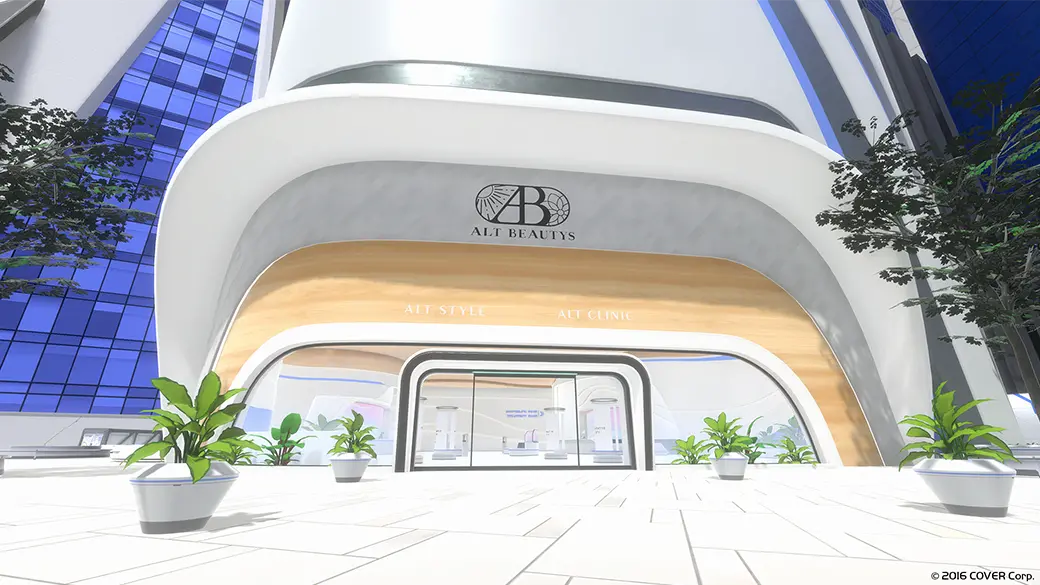
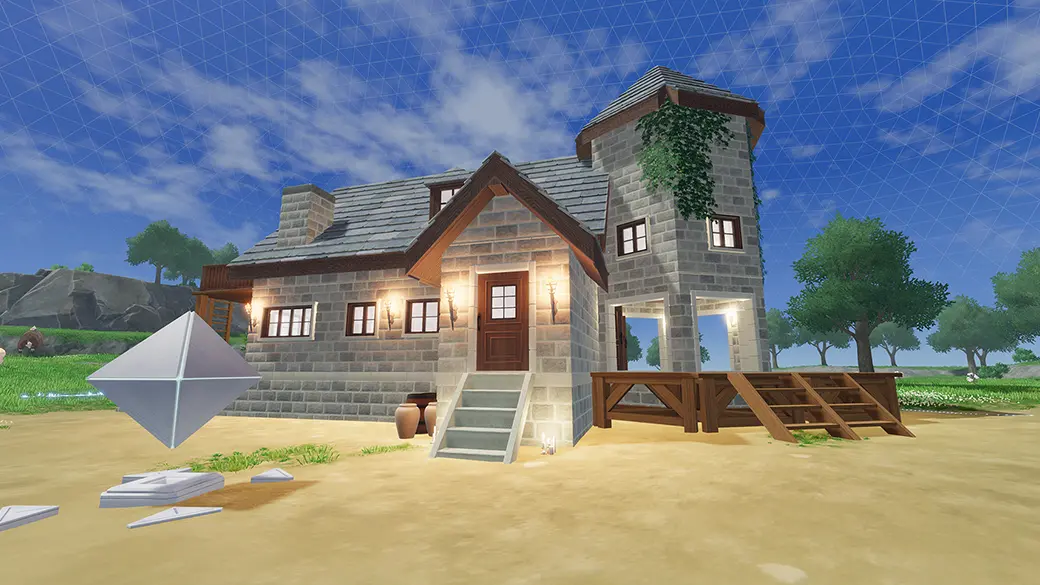
Find the perfect hair and clothes... Realize the ideal you
-

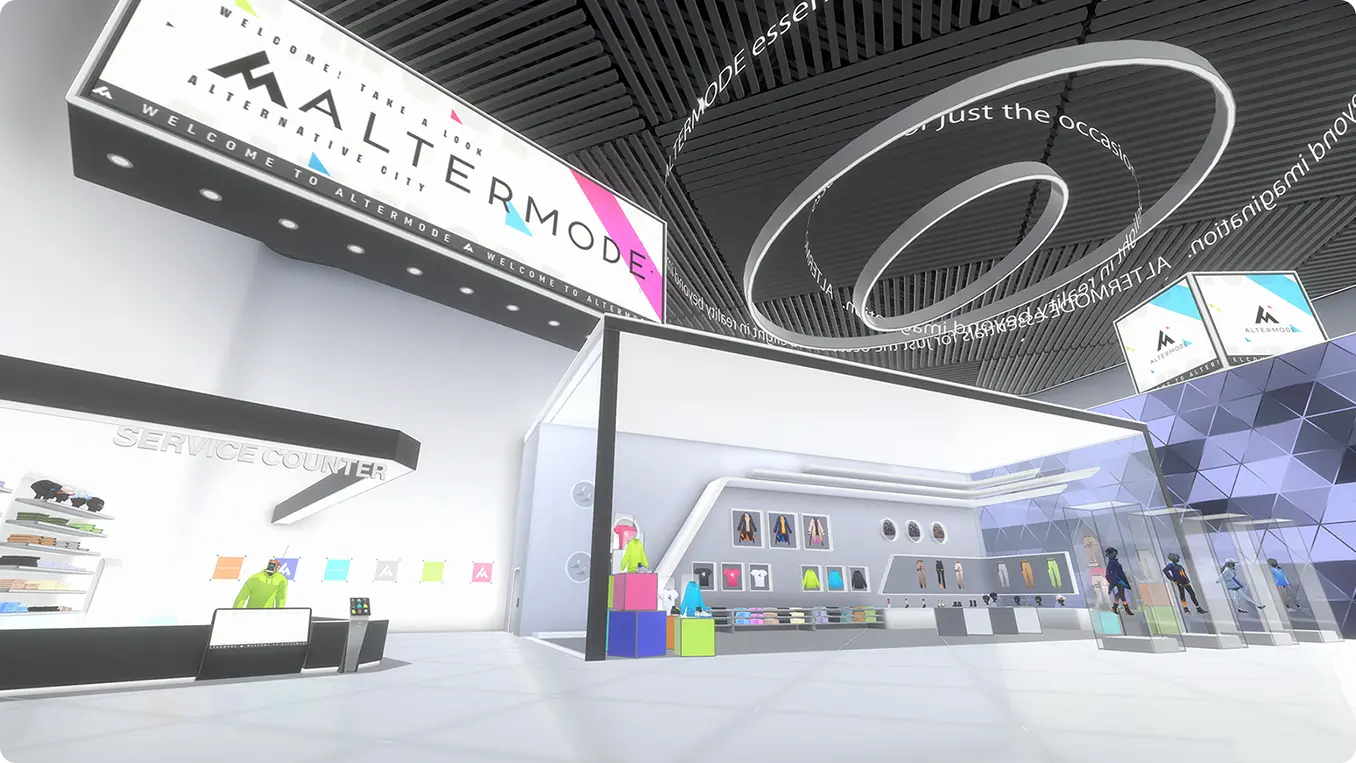
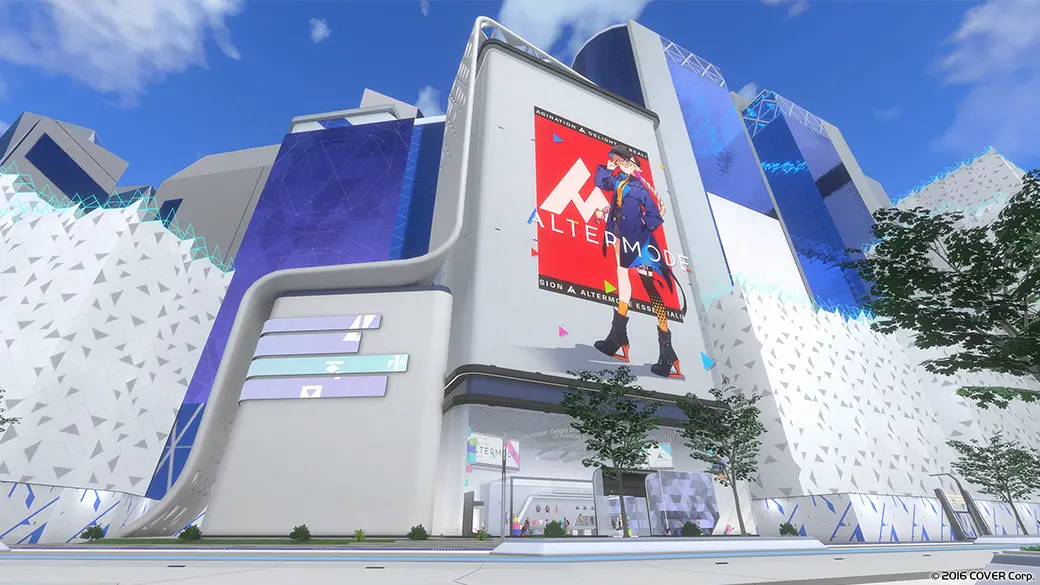
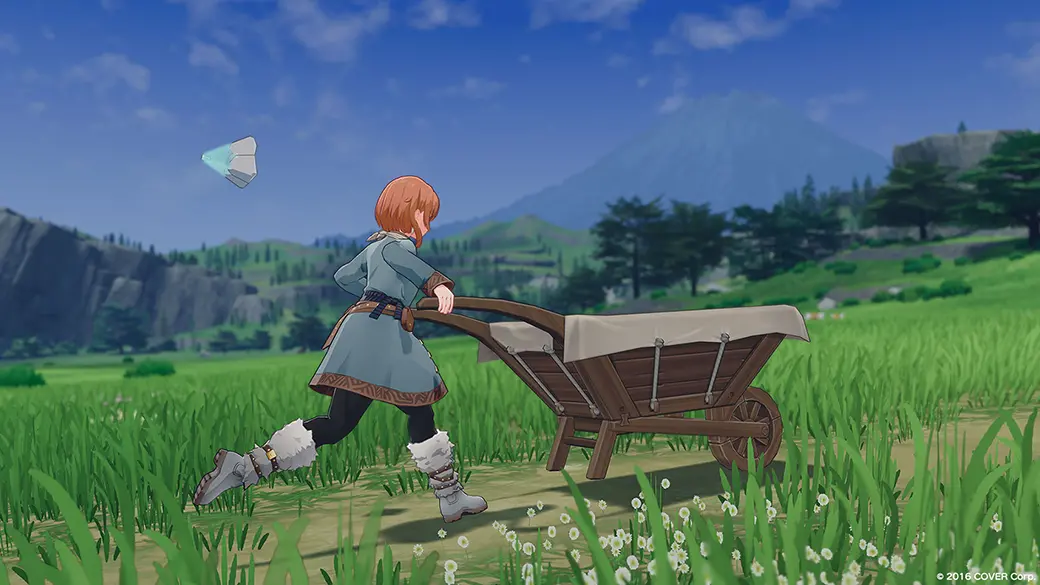
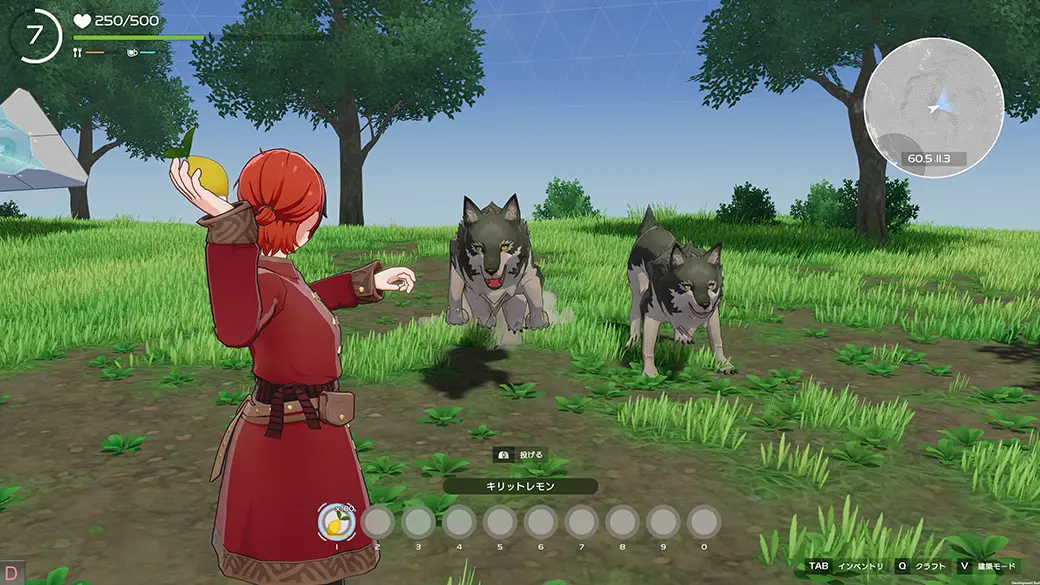
Exploration, conversation, shopping... Enjoy an open-ended world
-
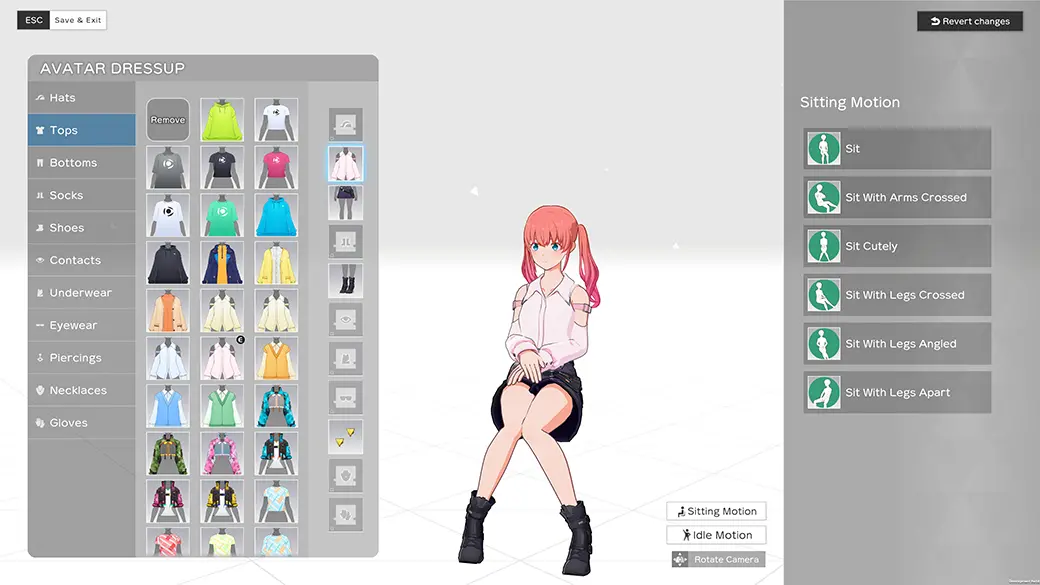
A huge selection of items... Discover your favorite style
-
Holoearth collab projects... Coming in the future
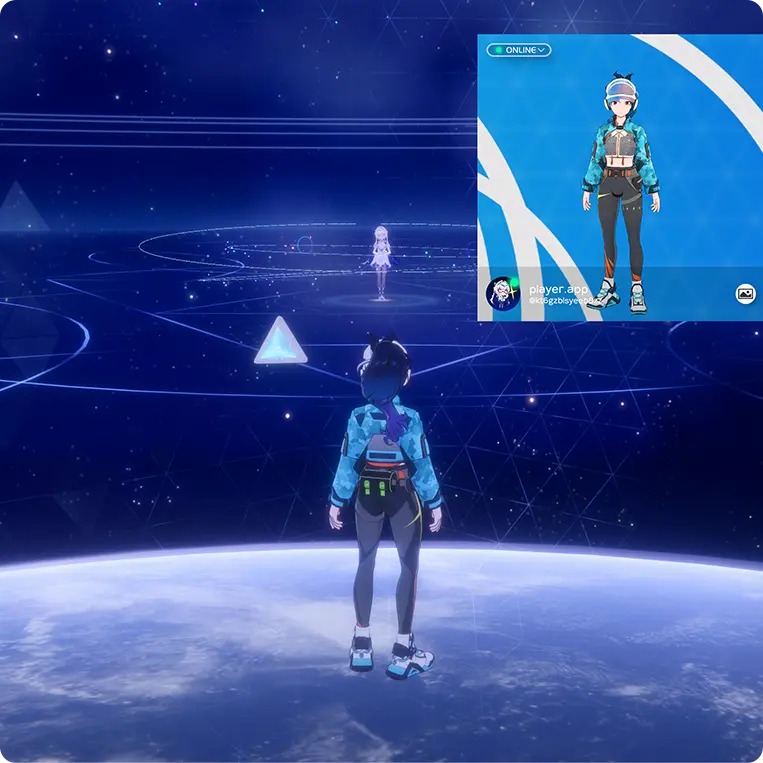
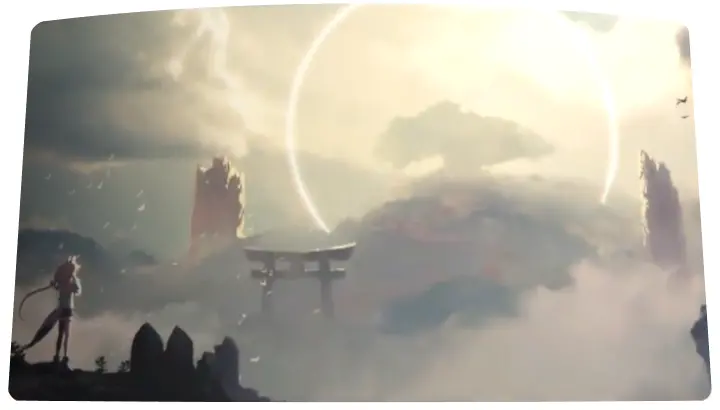
The world of Holoearth
This is a world sustained through your observation
This is a world sustained through your observation
What is necessary for "Holoearth" to exist... is the inhabitants of so-called "Realearth"...
In other words, it
must be observed by YOU.
What is necessary for "Holoearth" to exist...
is the inhabitants of so-called "Realearth"...
In other words, it must be observed by YOU.