


Holoearth has ended its service.
Thank you for your long-time support.
What is Holoearth?
VIRTUAL WORLD
REAL LIFE
VIRTUAL WORLD
REAL LIFE
-
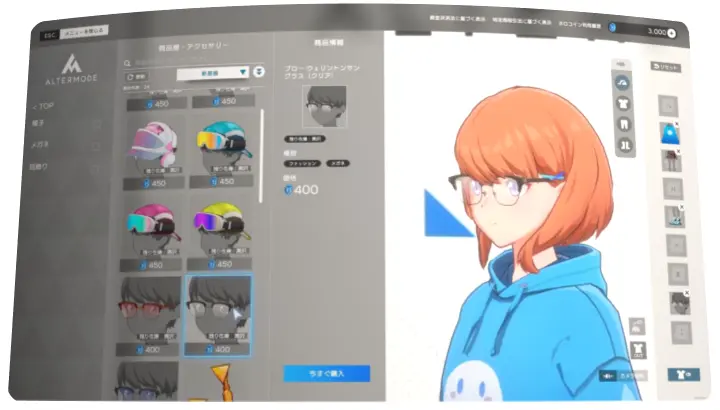
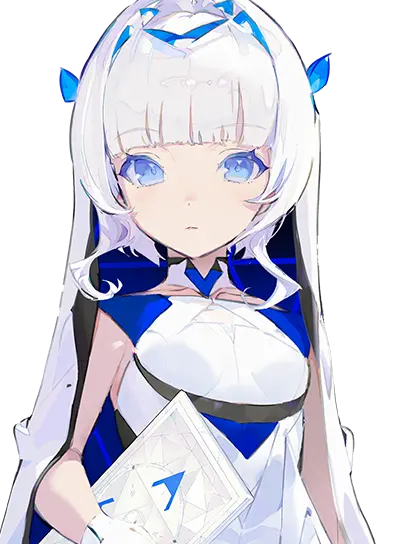
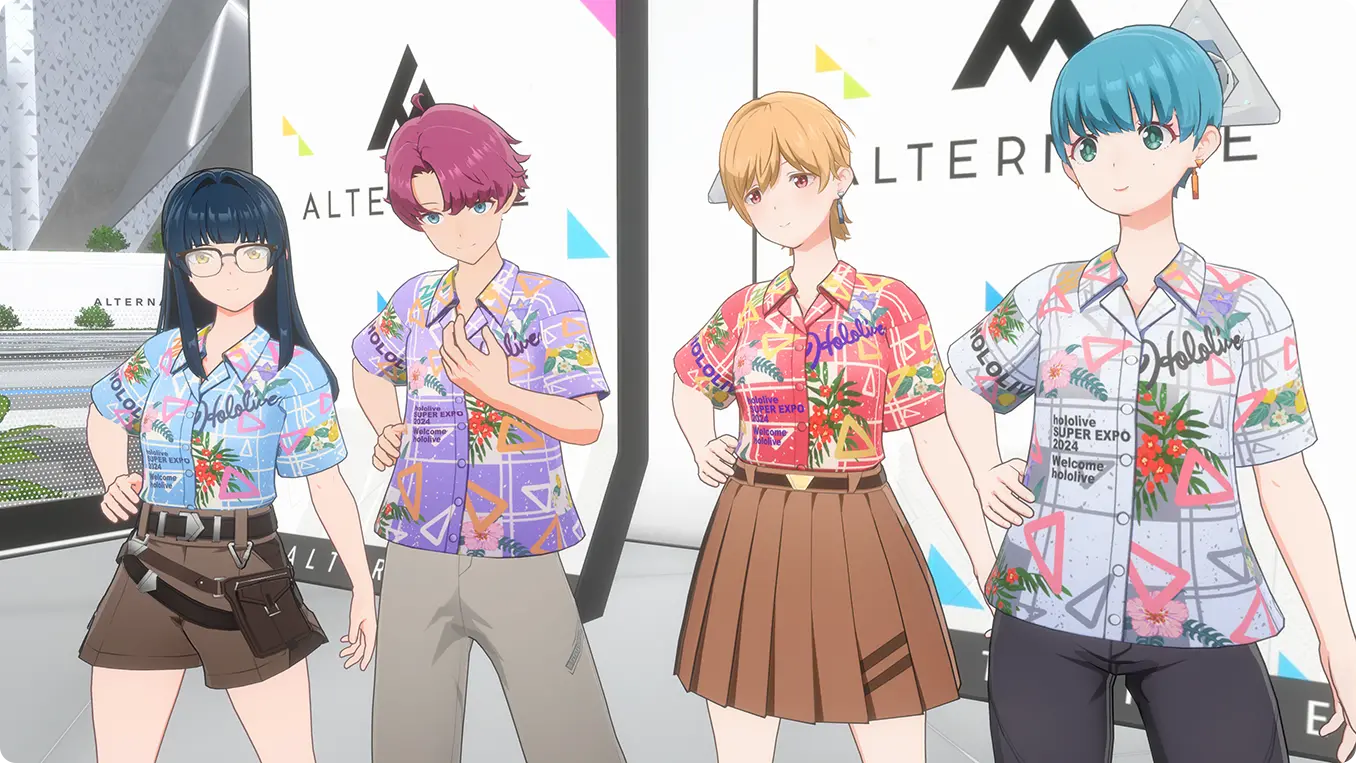
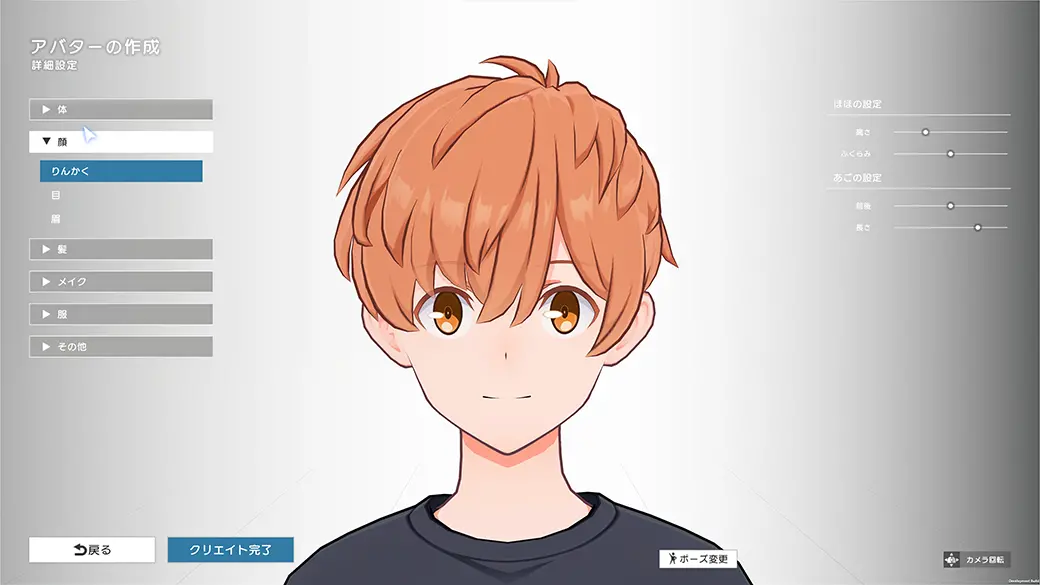
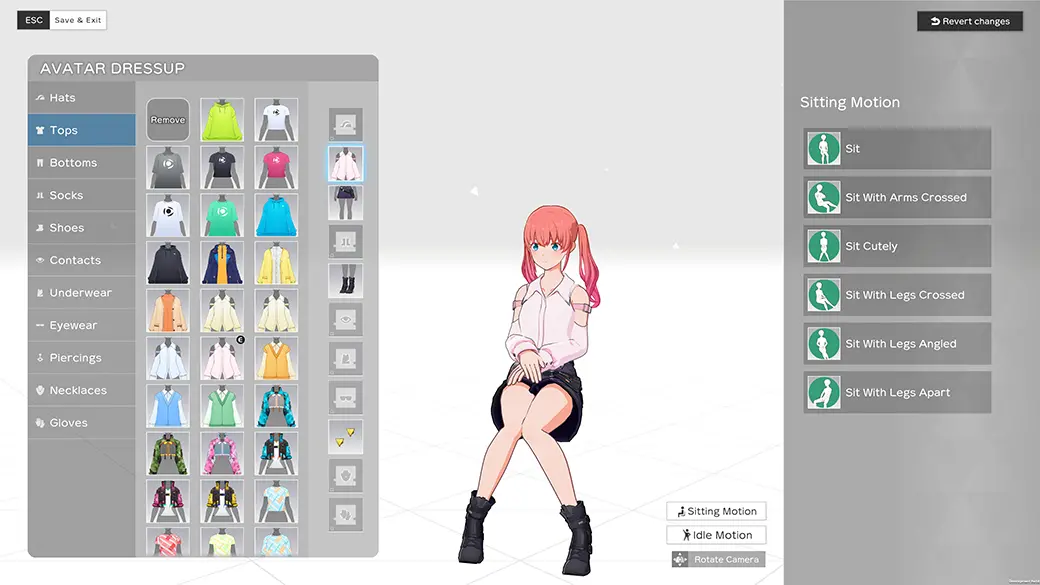
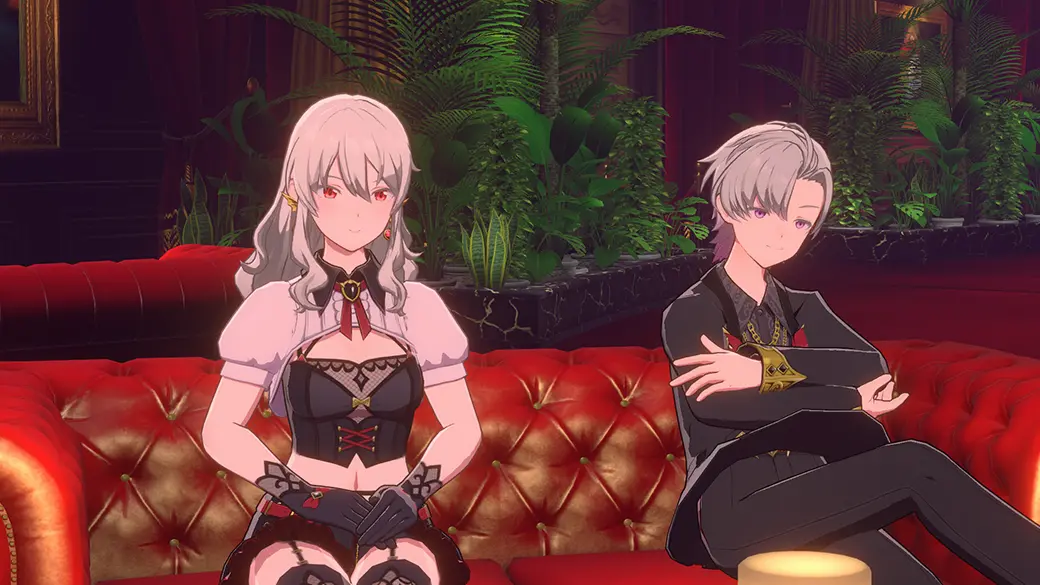
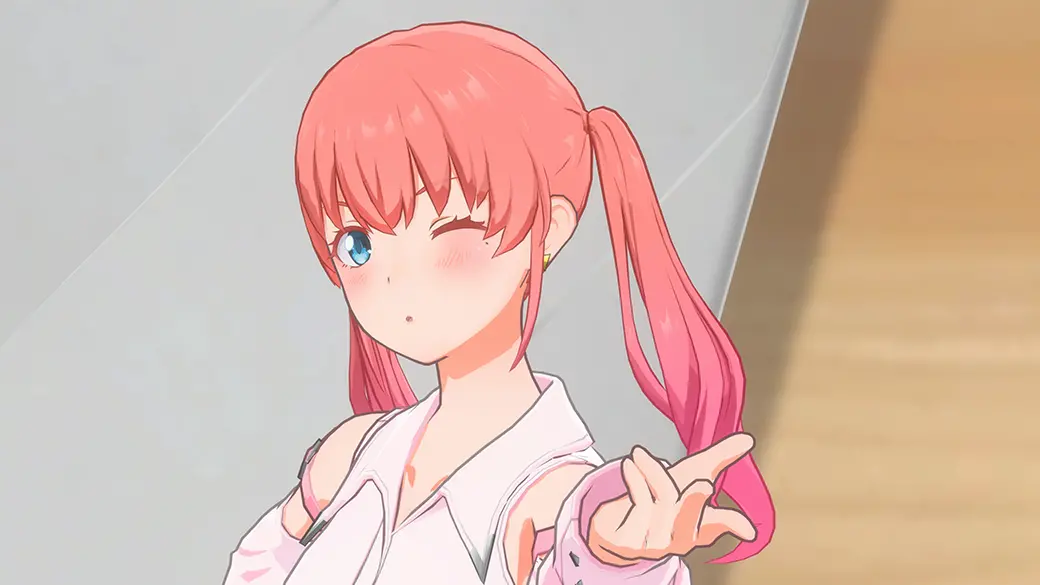
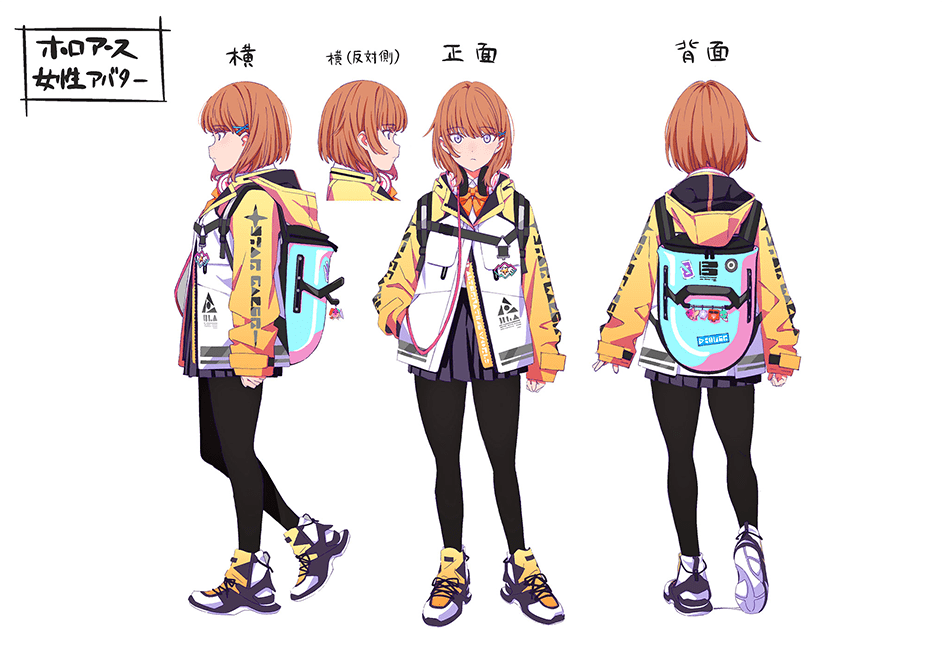
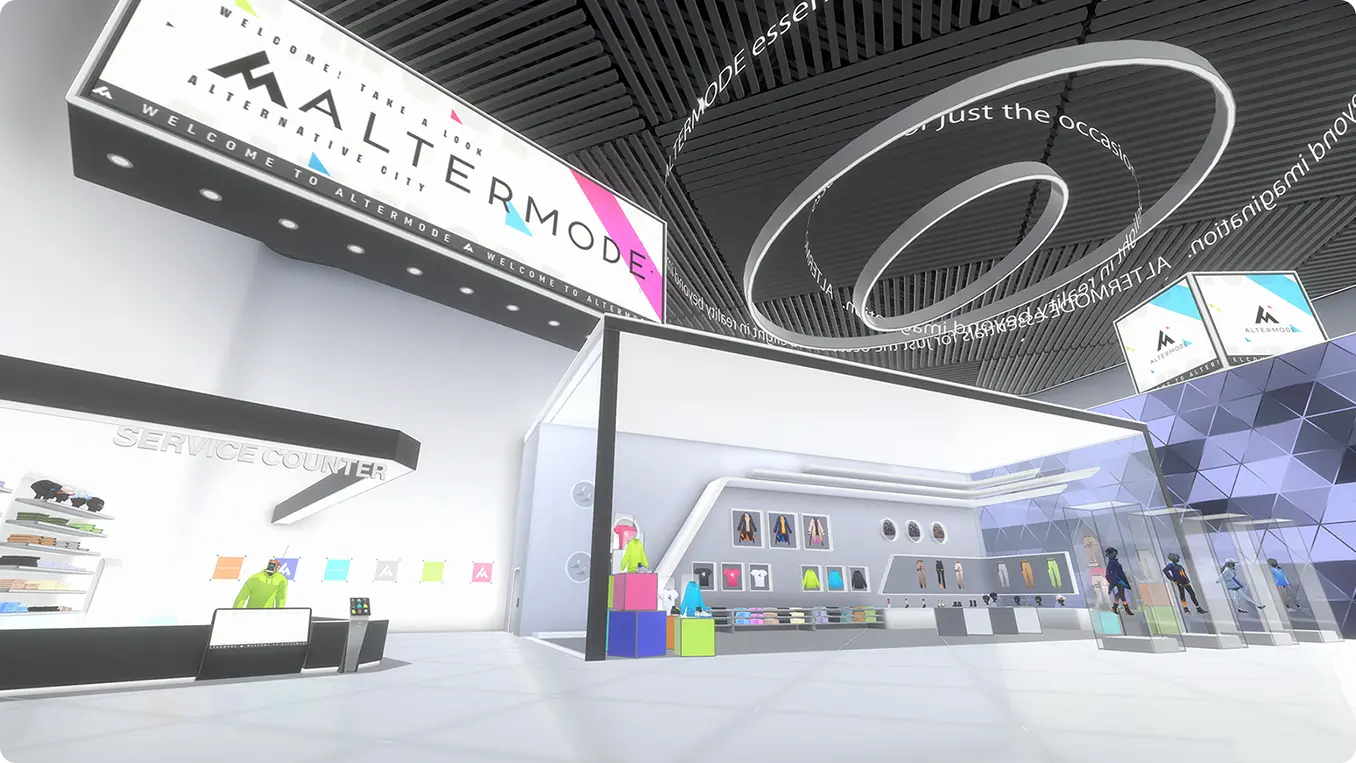
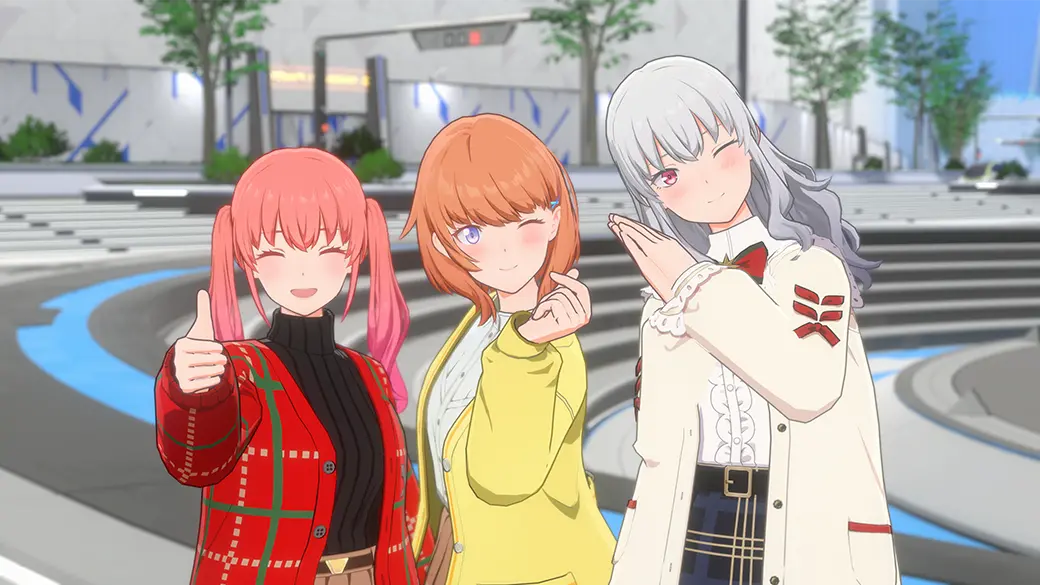
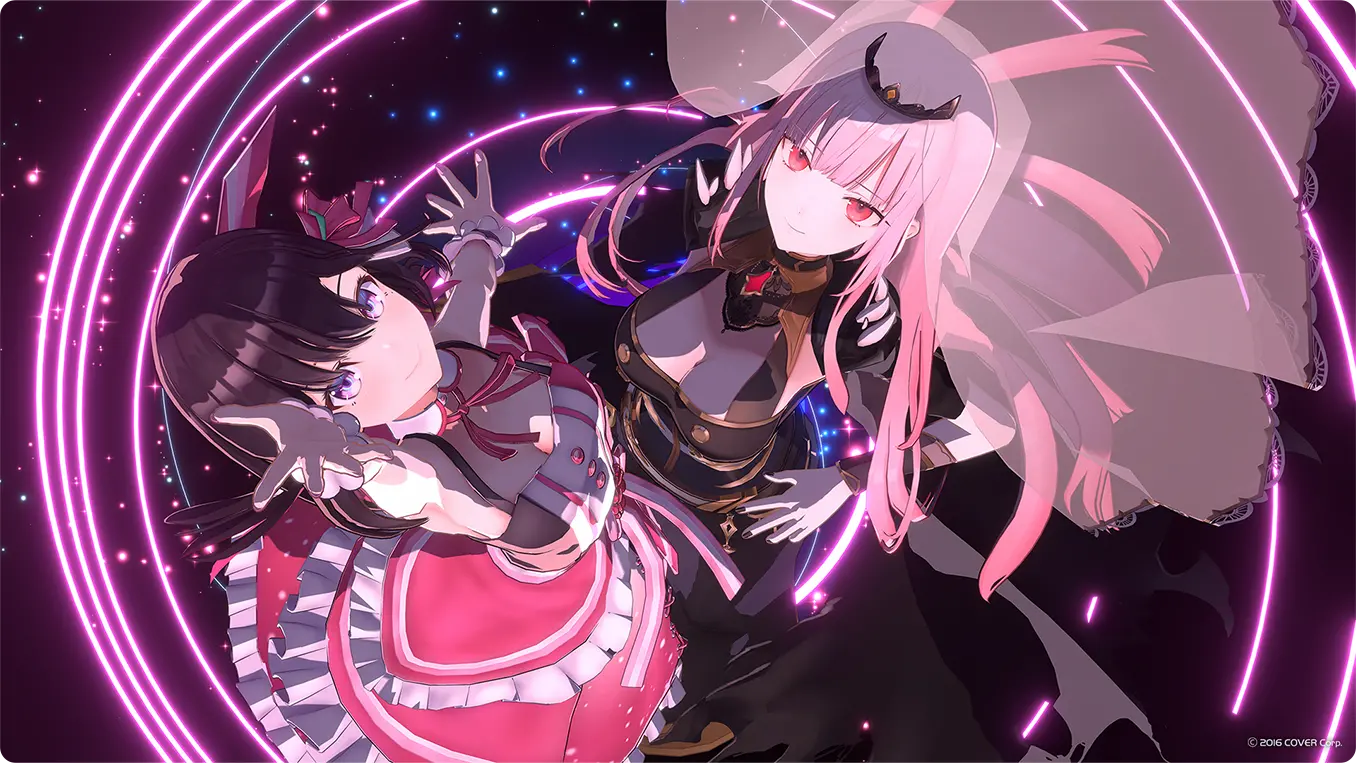
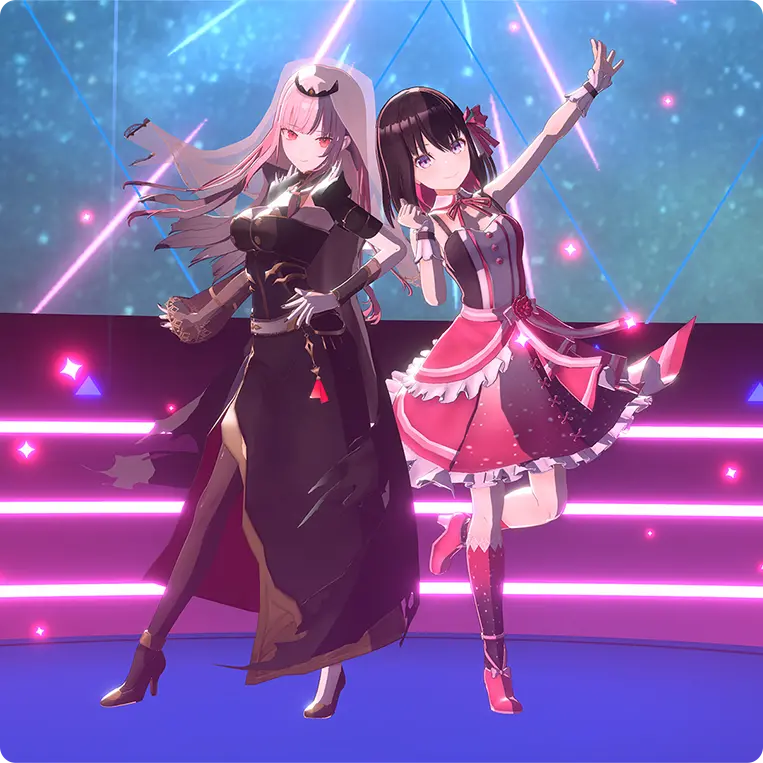
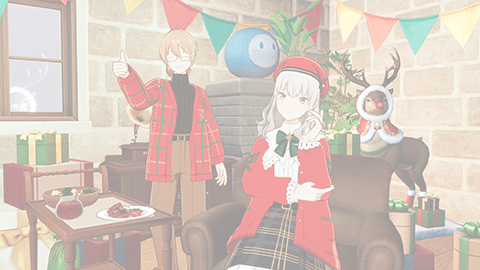
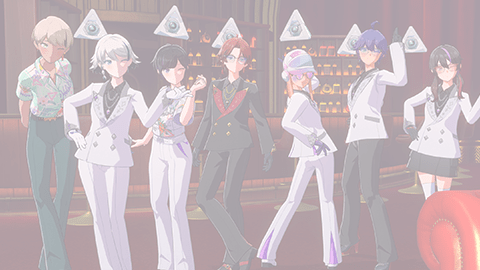
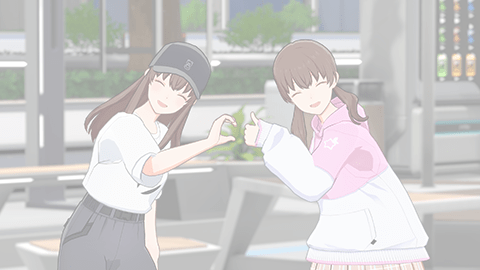
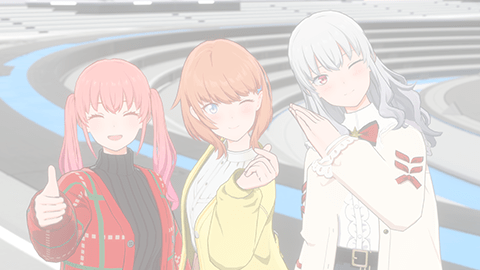
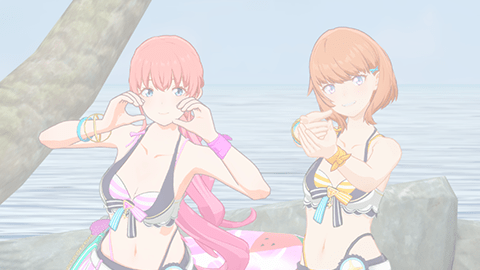
Find the perfect hair and clothes... Realize the ideal you
-

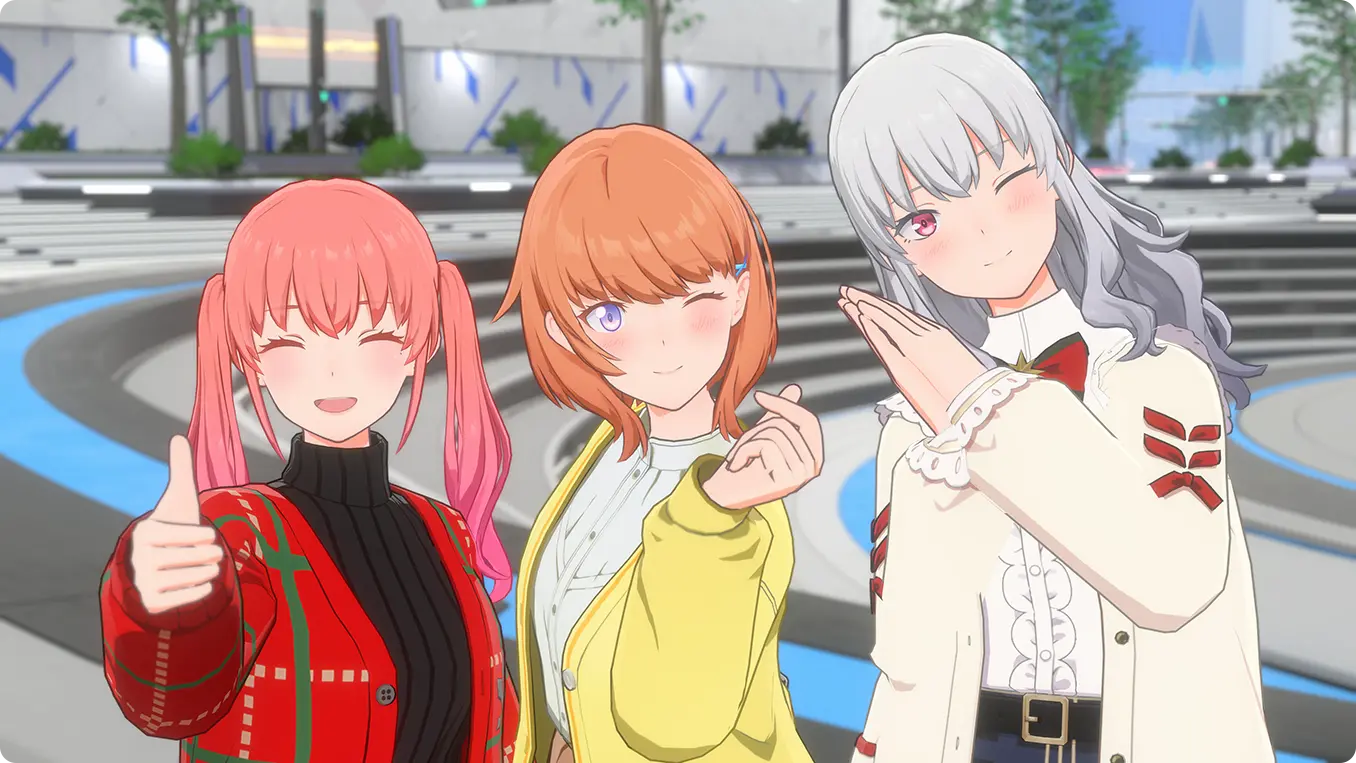
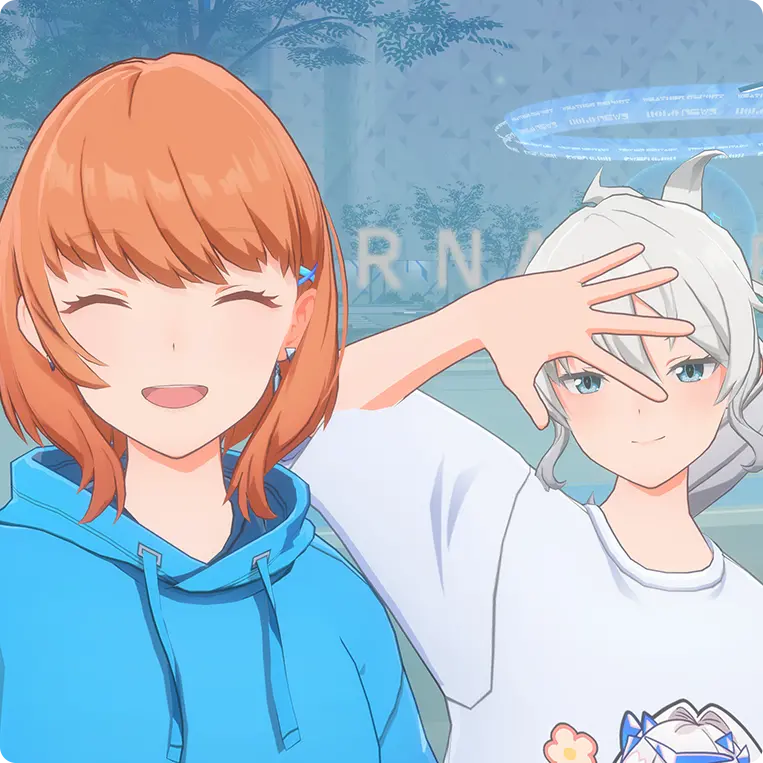
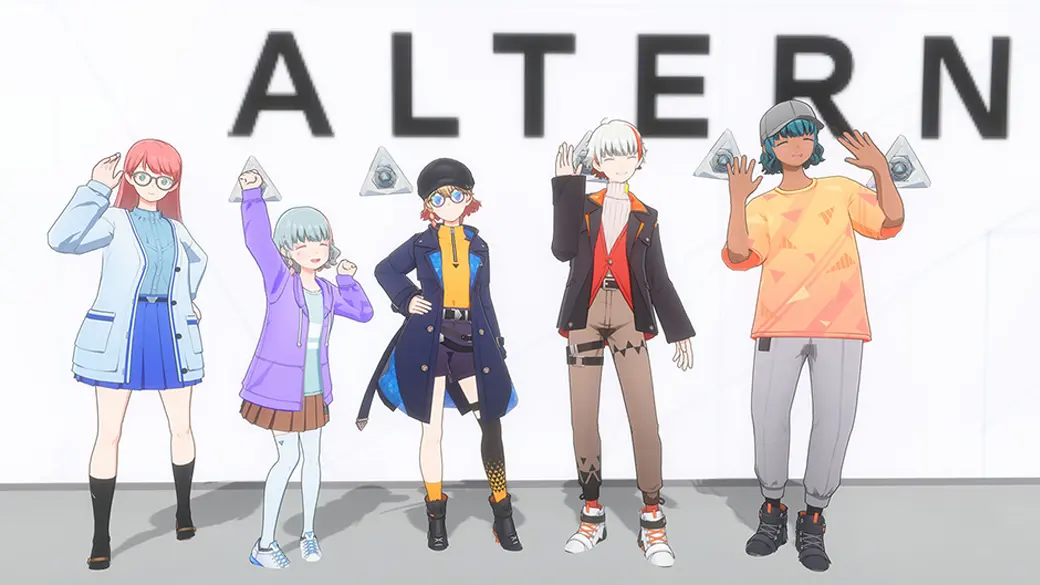
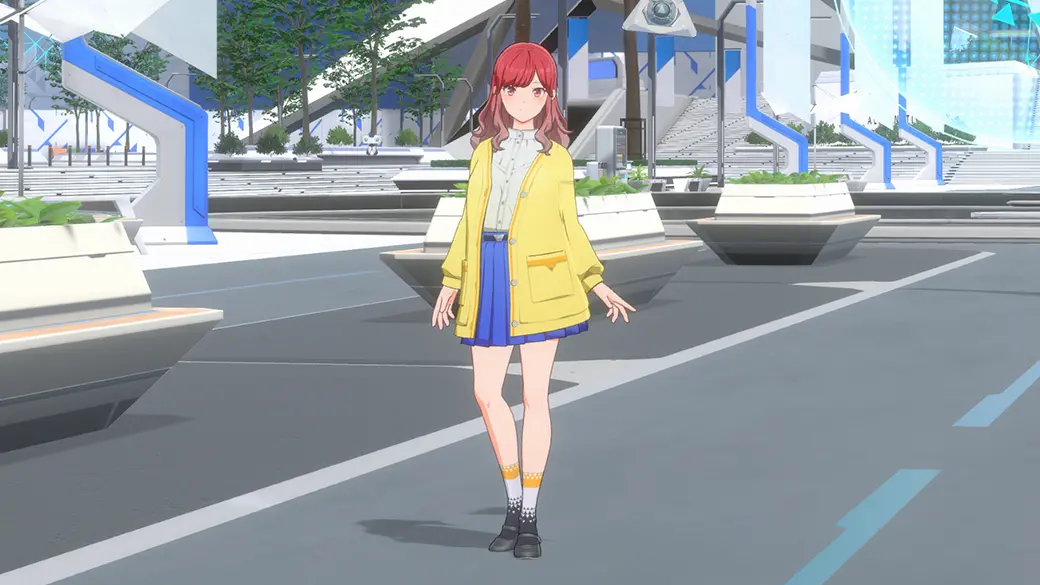
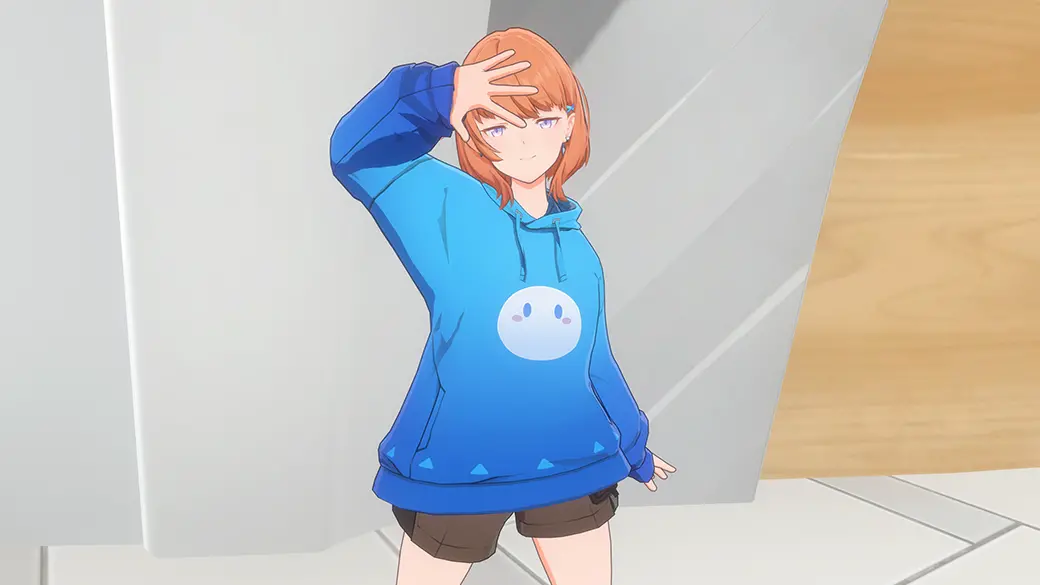
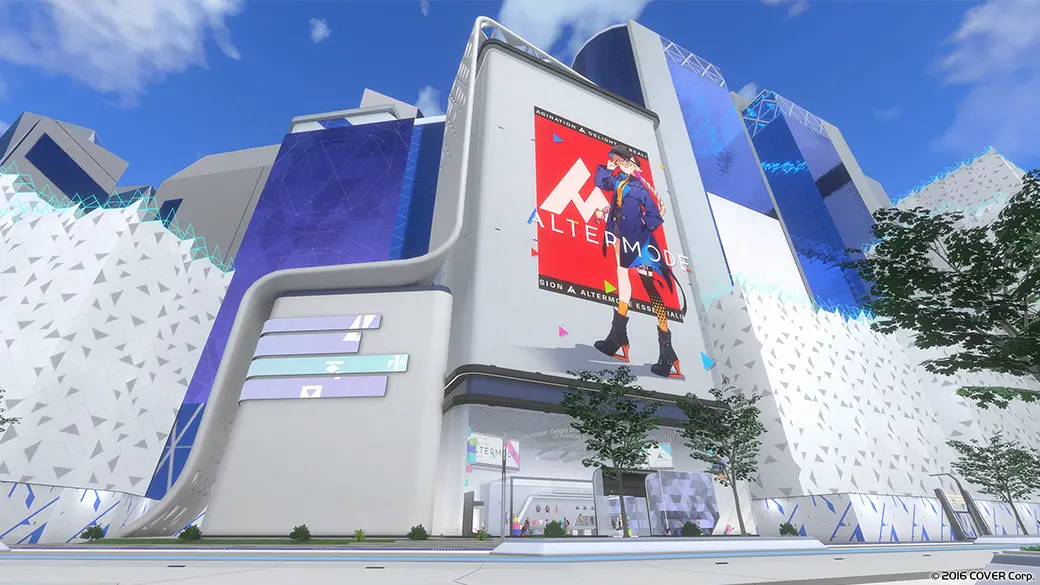
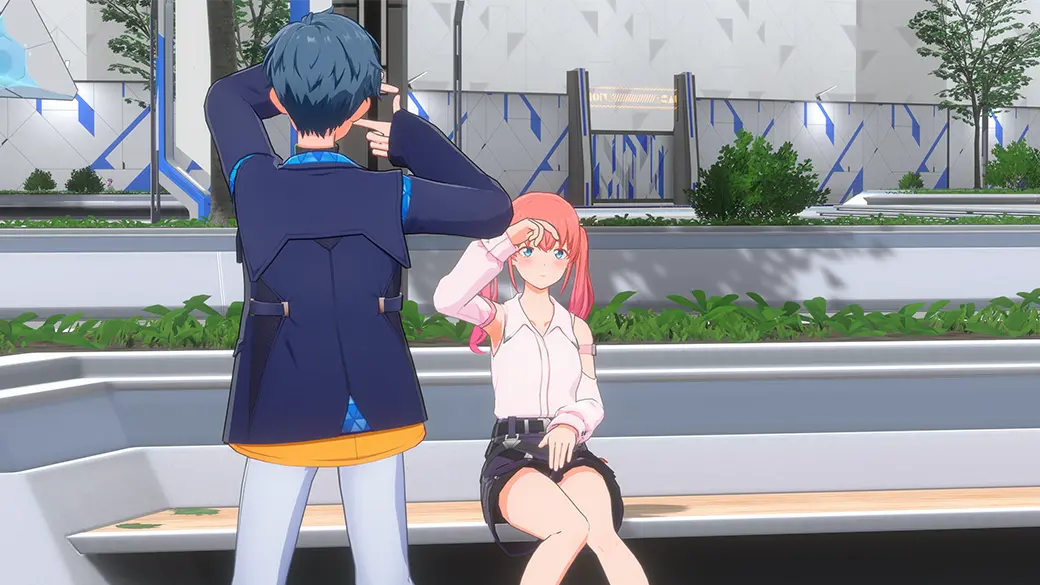
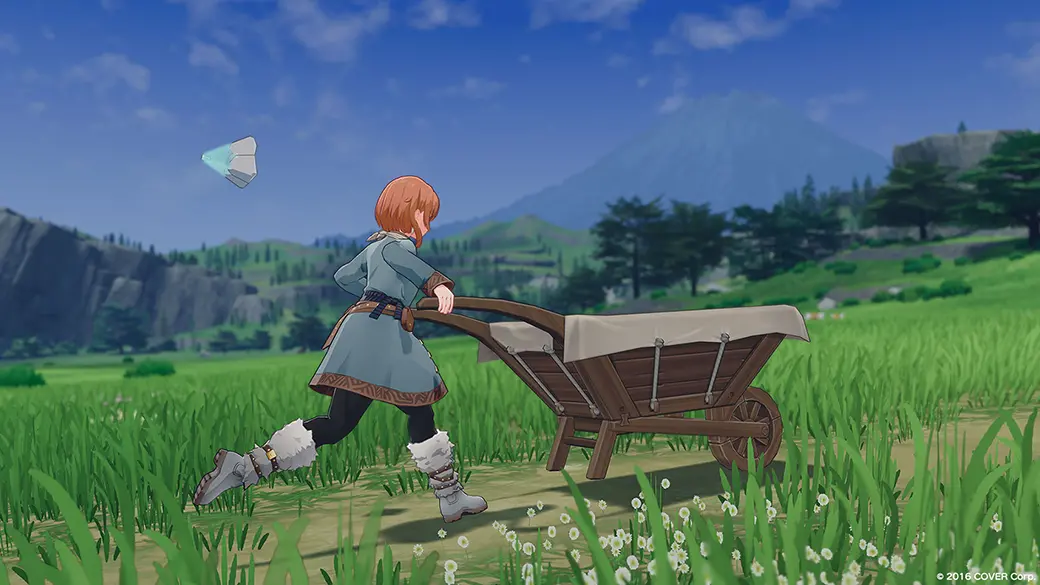
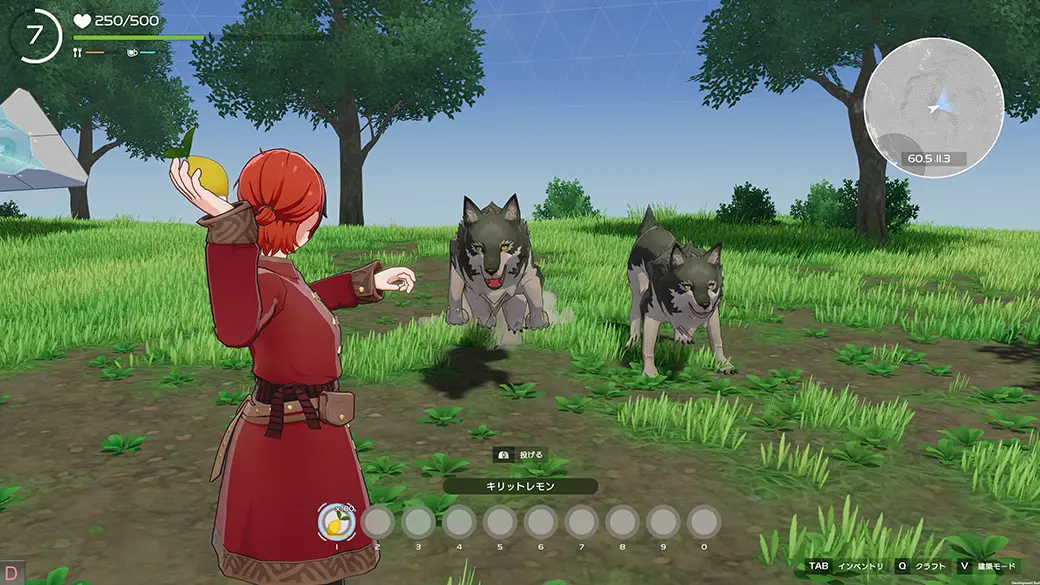
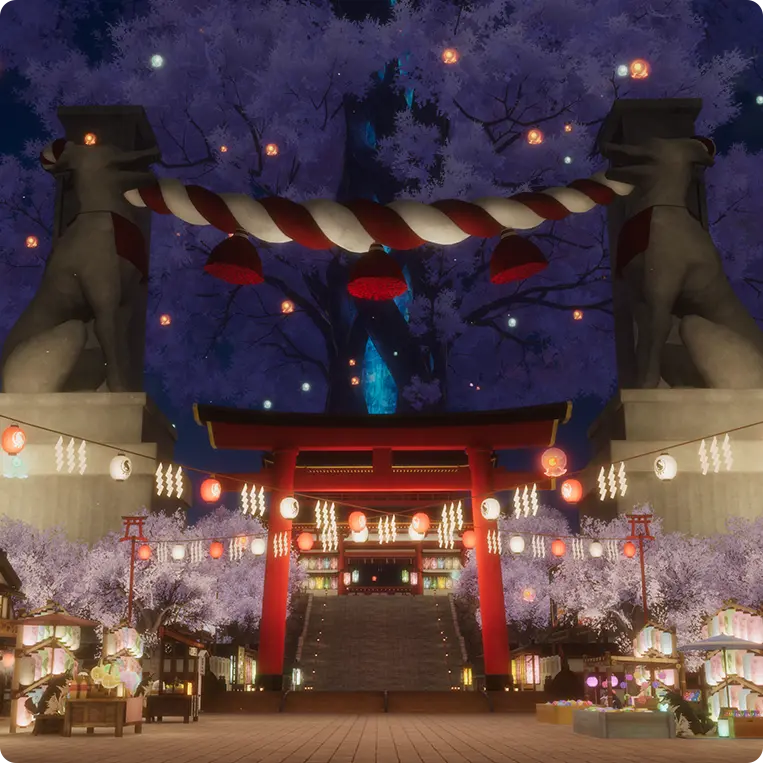
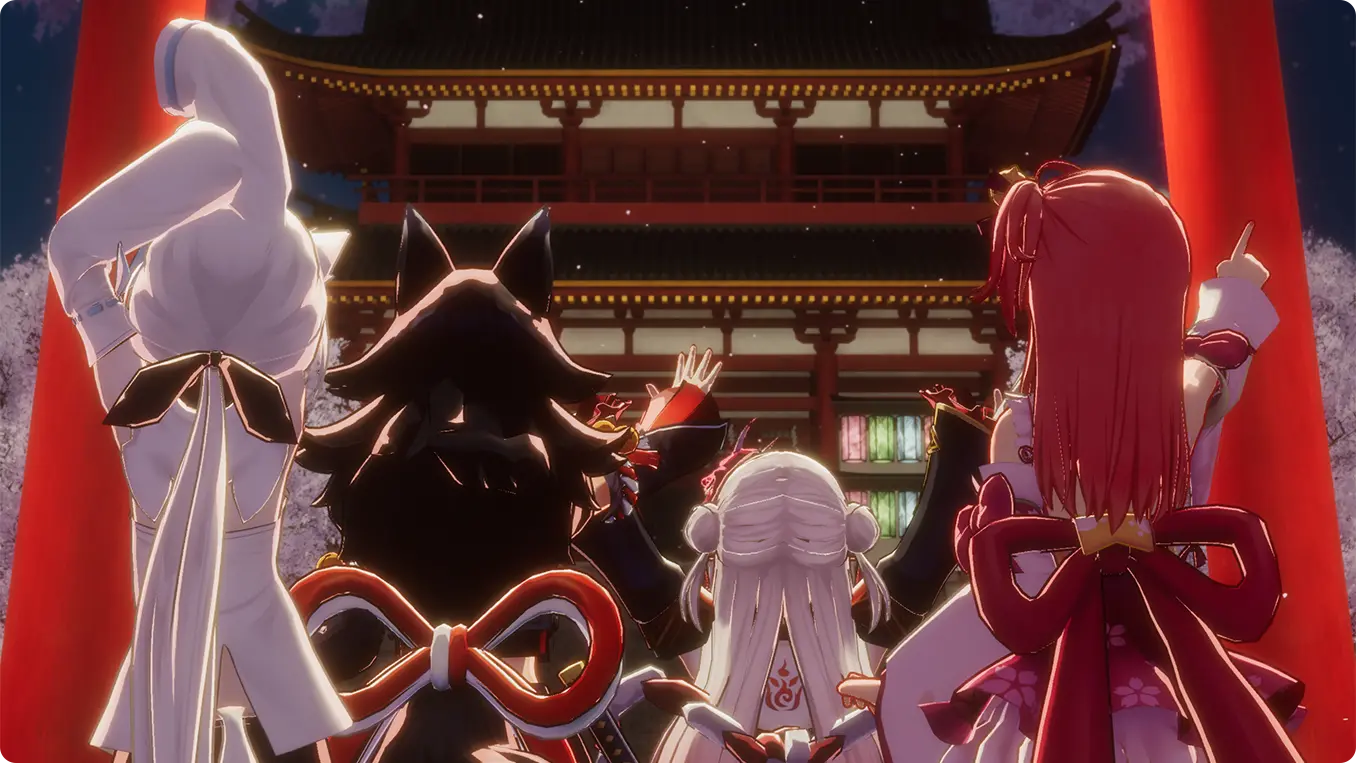
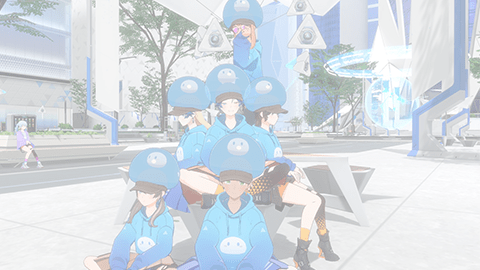
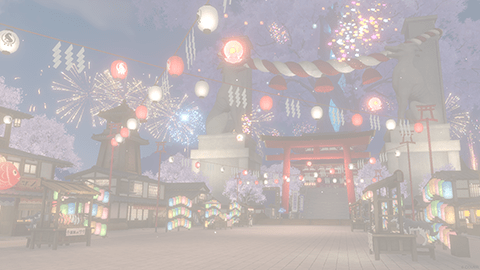
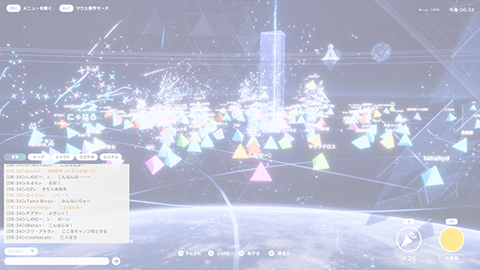
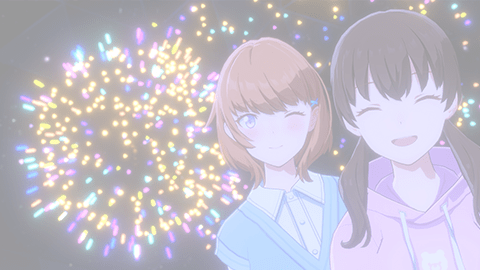
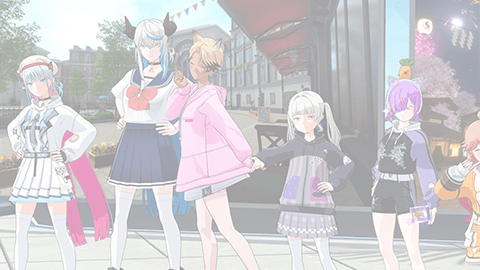
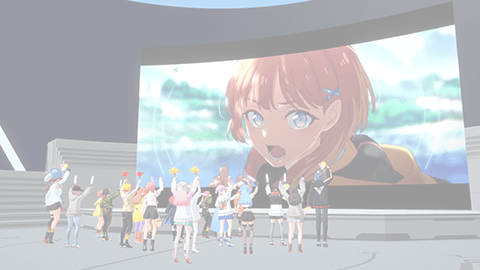
Exploration, conversation, shopping... Enjoy an open-ended world
-
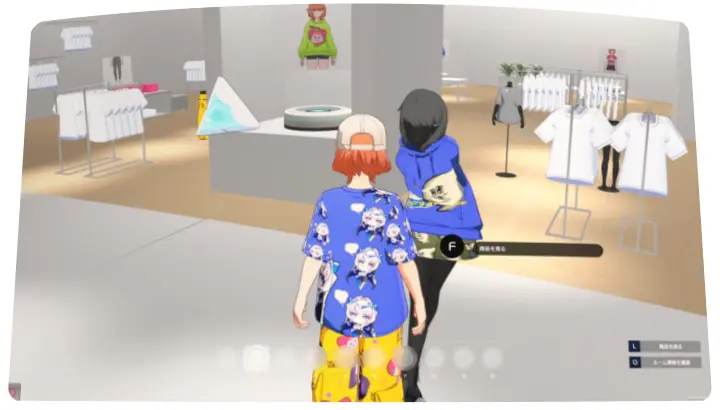
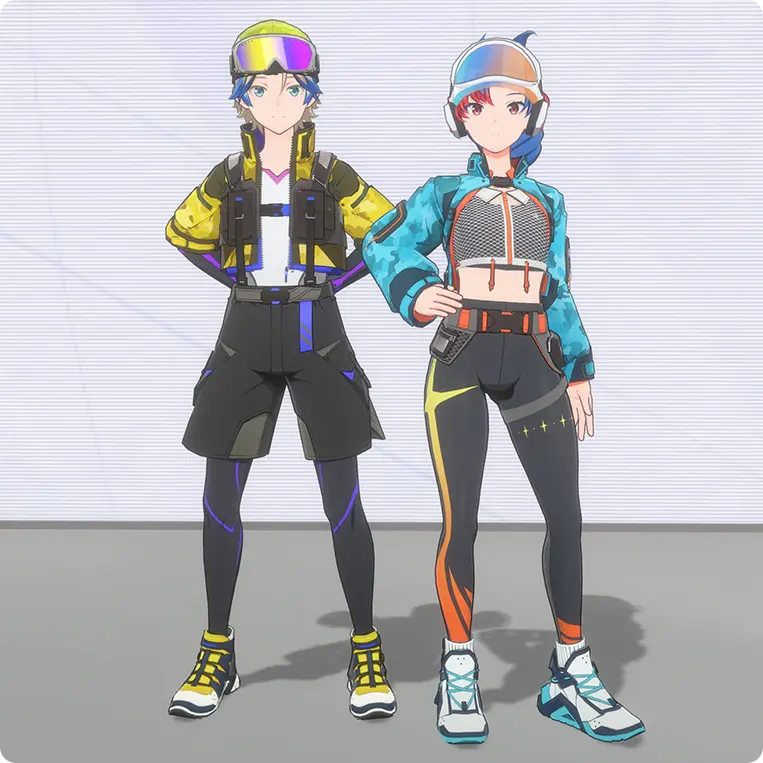
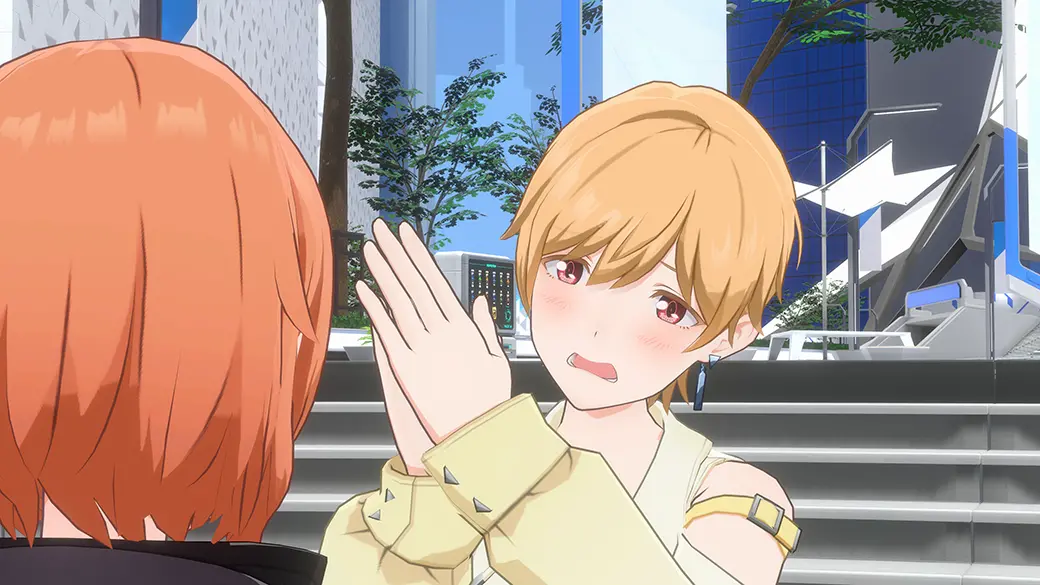
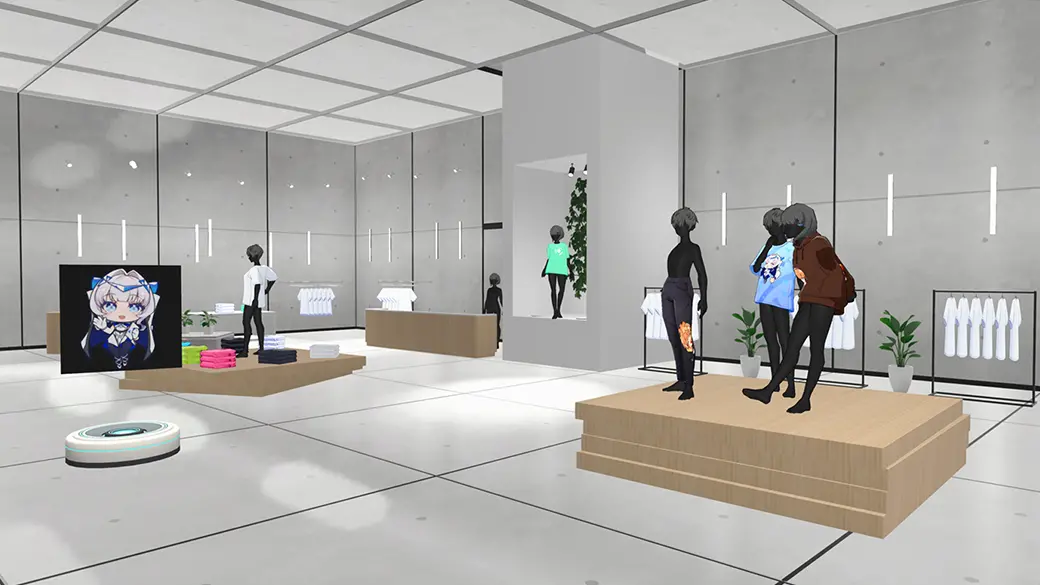
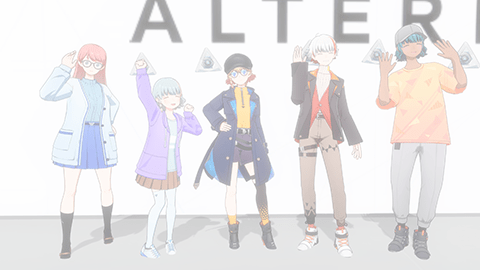
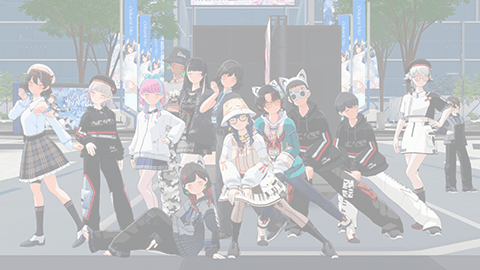
A huge selection of items... Discover your favorite style
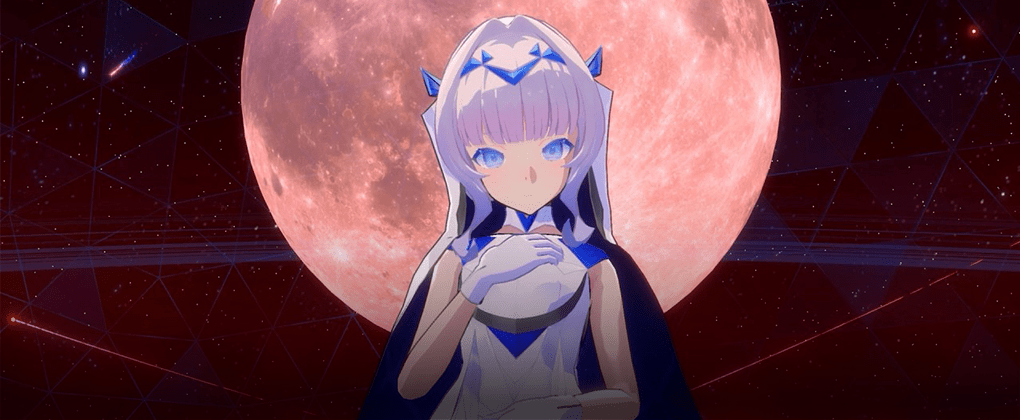
The world of Holoearth
This is a world sustained through your observation
This is a world sustained through your observation
What is necessary for "Holoearth" to exist... is the inhabitants of so-called "Realearth"...
In other words, it
must be observed by YOU.
What is necessary for "Holoearth" to exist...
is the inhabitants of so-called "Realearth"...
In other words, it must be observed by YOU.